Online shoppers love free shipping. In fact, they don’t just love it; they expect free shipping from your store.
Don’t believe us? At least you will believe these stats:
- 66% of online consumers expect free shipping on all their orders
- 80% have the same expectation but are willing to purchase an amount of product to get it
What do you think would happen if you don’t offer free shipping on your e-commerce store? Potential customers will happily walk away.
You definitely do not want that. So offering your customers free shipping is not an option but a must, especially if you want to stay competitive in the e-commerce space.
That being said, merely offering free shipping to your customers won’t do much; you need to let them know about your free shipping policy. Also, you need to optimize your free shipping offers to generate the most sales for your business.
This is where the free shipping bar comes into play. In the simplest sense, free shipping bars are floating/sticky bars that let you display free shipping announcements on your website.
It comes in different variants, including WooCommerce free shipping bar, Magento 2 free shipping bar, and Shopify free shipping bar.
In this post, we will show you how to create one and optimize it for optimum sales. So stick around.
What is a Free Shipping Bar?
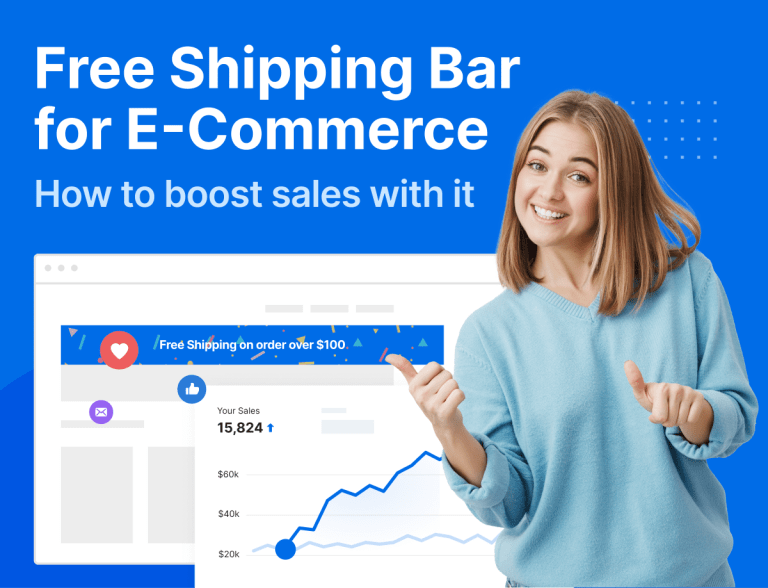
As we said earlier, a free shipping bar is a floating/sticky bar that appears at the top or bottom of your website and announces your free shipping offer.
It looks something like this:

When implemented correctly, a floating bar can help increase your conversion rate and uplift your sales. The other additional benefits of the free shipping bar are as follows:
Benefits of Free Shipping Bar for E-Commerce
Reduce Cart Abandonment
Cart abandonment is a very serious issue in e-commerce. Studies have it that as much as 70% of all carts are abandoned by online shoppers.
While many factors are responsible for cart abandonment, high shipping cost is one of the commonest. As such, offering your customers free shipping – and ensuring they are aware you do so – will go a long way in reducing your website’s cart abandonment rate.
This is also where the free shipping bar comes in handy.
If you implement it effectively, free shipping bars can be instrumental in reducing your cart abandonment rate, improving your store’s average order value (AOV)
Increase Customer Loyalty
Loyal customers are the lifeblood of any business. You need lots of them to keep your e-commerce business going.
And what better way to convert shoppers into lifelong, loyal customers than offering them free shipping? Your customers will always come back to shop from your store if they know they will always get free shipping.
They might even go as far as encouraging their friends and families to buy from your store.
More Sales
You certainly want to make more sales for your e-commerce business, don’t you? Well, one of the easiest ways to do that is to entice your customers with a free shipping offer.
For best results, only make the offer available when they’ve crossed a certain amount with their orders. For example, you can offer free shipping only when customers’ purchases reach $100 or more.
As you would expect, the free shipping bar can also help you with this.
Competitive Advantage
E-commerce is a fiercely competitive space. If you want to get ahead in business, you need to be willing to do what others aren’t doing – or not doing well enough.
This is another reason why free shipping marketing makes a lot of sense. Offering your customers free shipping will help give you a competitive advantage over other e-commerce stores.
How to Add Free Shipping Bar to Your Website
Now you’ve seen what the free shipping bar is about and why using it makes a lot of sense, let’s now show you how to add it to your Shopify, WooCommerce, or Magento website.
How to Add Free Shipping Bar to Shopify
Adding a free shipping bar to Shopify is one of the easiest things to do, thanks to Adoric. With Adoric, you can easily and quickly deploy a free shipping bar to your website without writing any code.
Here are the steps to go about it.
Step One: Install Adoric On Your Website
To start using Adoric, first, you need to install it on your website. The easiest way to do this is to head to the Shopify app store and search for Adoric. Once you find it, add it to your store by clicking the Add app button.

After adding it to your website and creating an account, proceed to the next step.
Step Two: Launch Adoric From Shopify
The next thing you will want to do after adding and activating Adoric on your Shopify website is to create your first campaign. But to do that, you need to launch Adoric from your Shopify admin dashboard.
To do so, log in to your Shopify admin dashboard and navigate to Apps >> Adoric
The next screen you will see is this page:
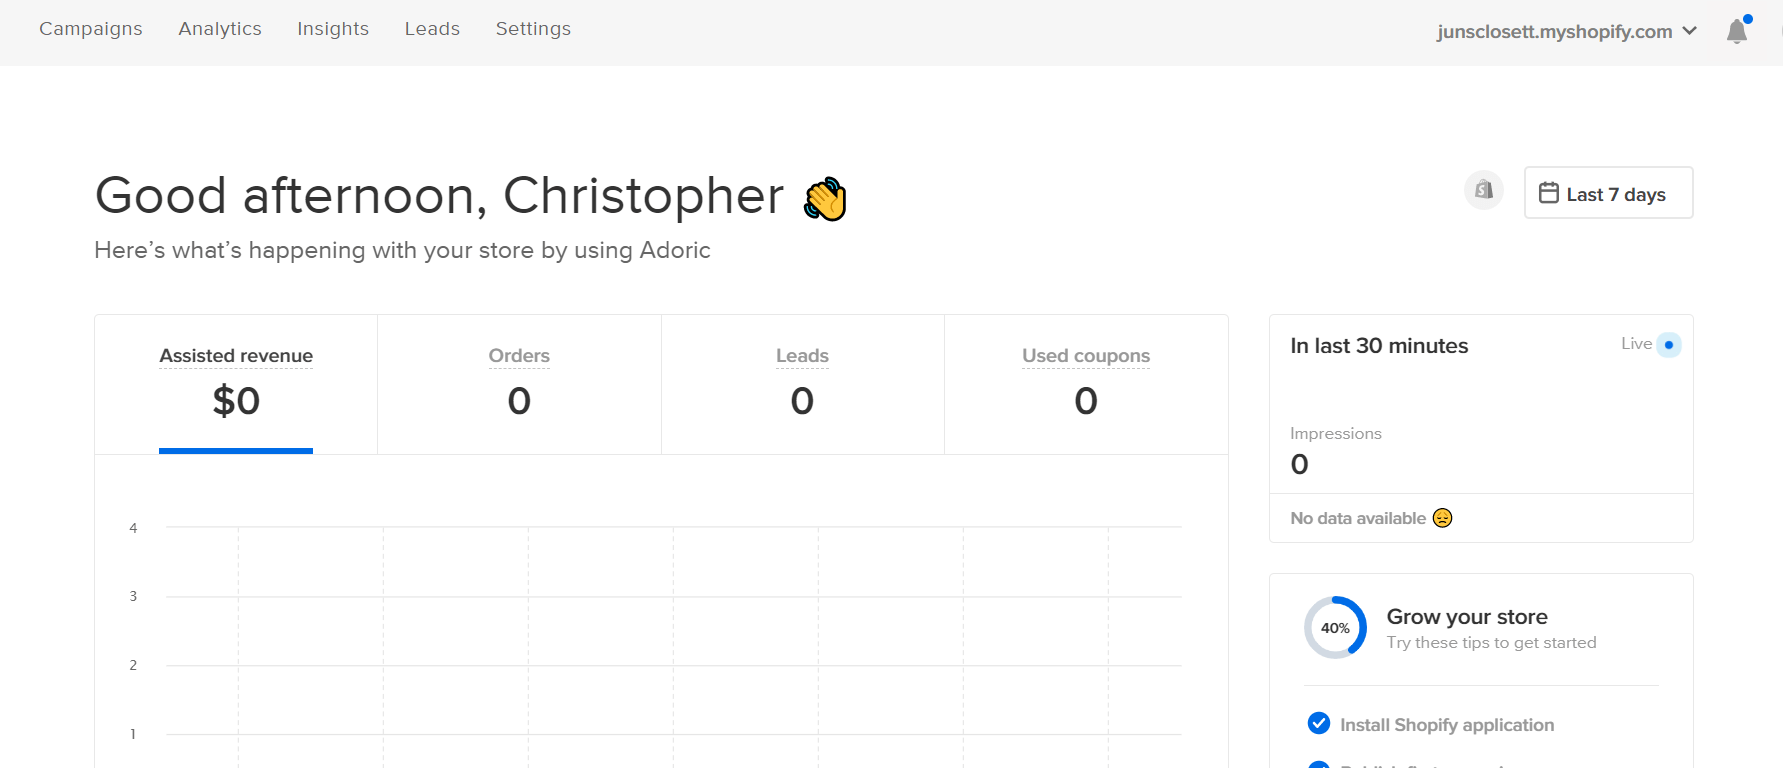
Step Three: Create A Campaign
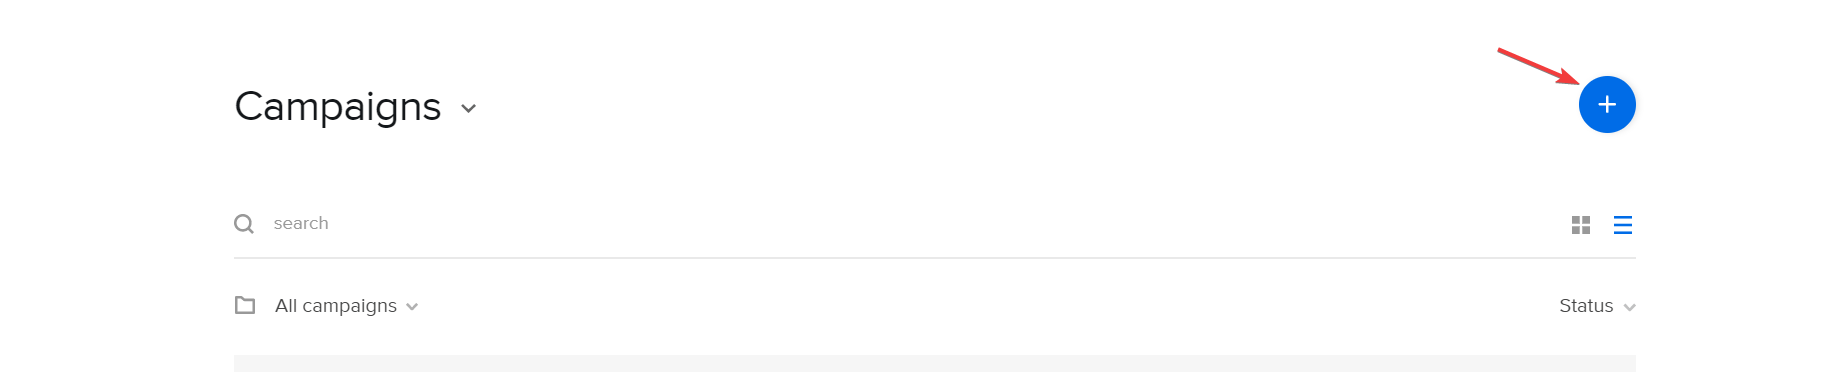
To create a campaign, click the Campaigns tab, as shown in the screenshot above. On the Campaigns page, click the big plus button to start creating your first campaign.
Upon clicking, you will see this campaign wizard interface.
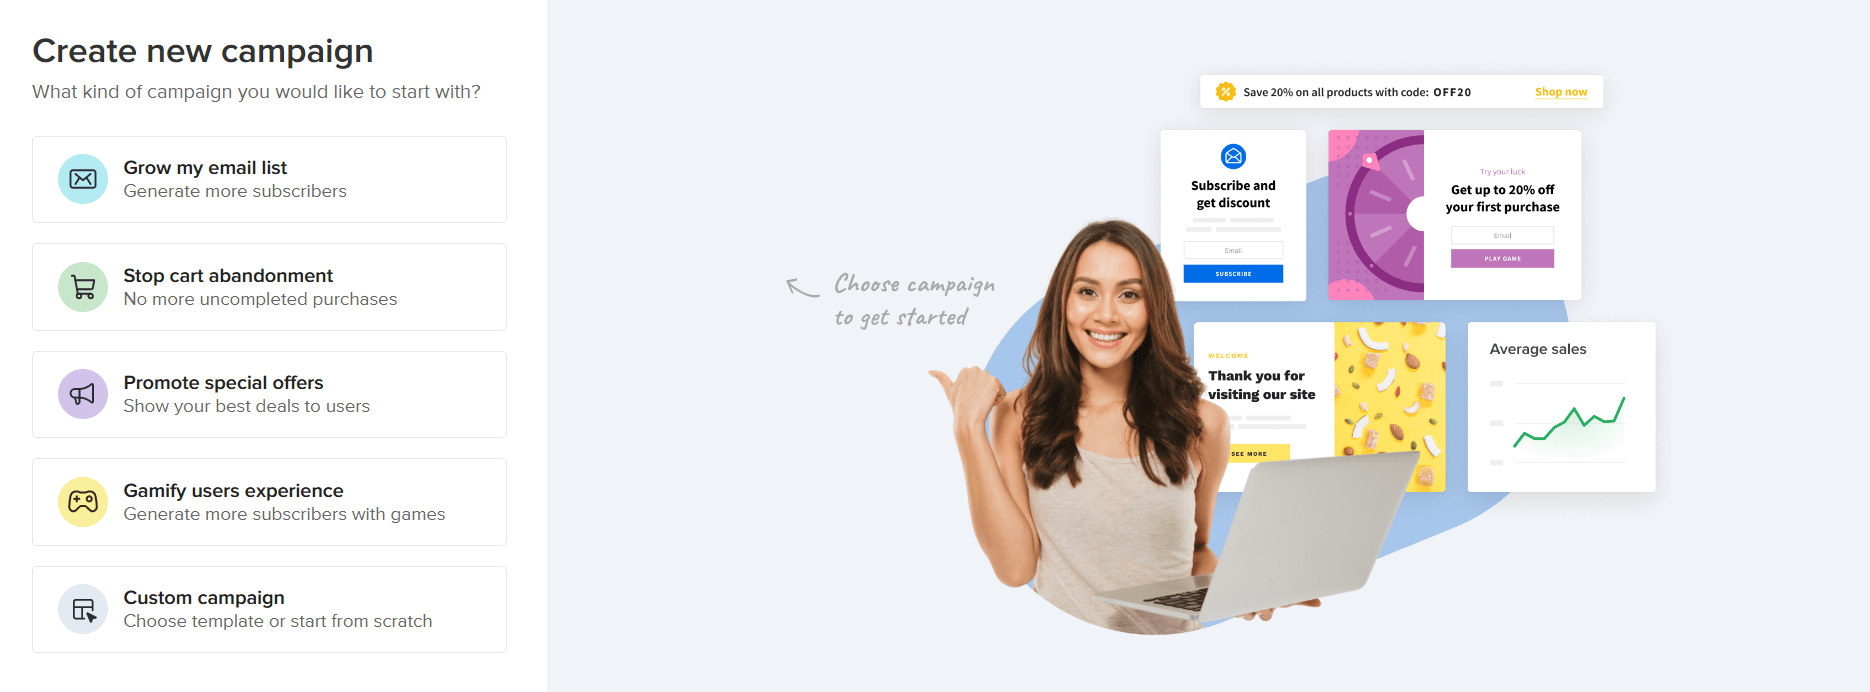
Next, click the Promote special offers tab, as shown above. On the next screen that popups up, select Show free shipping bar followed by the Continue button at the top right corner.
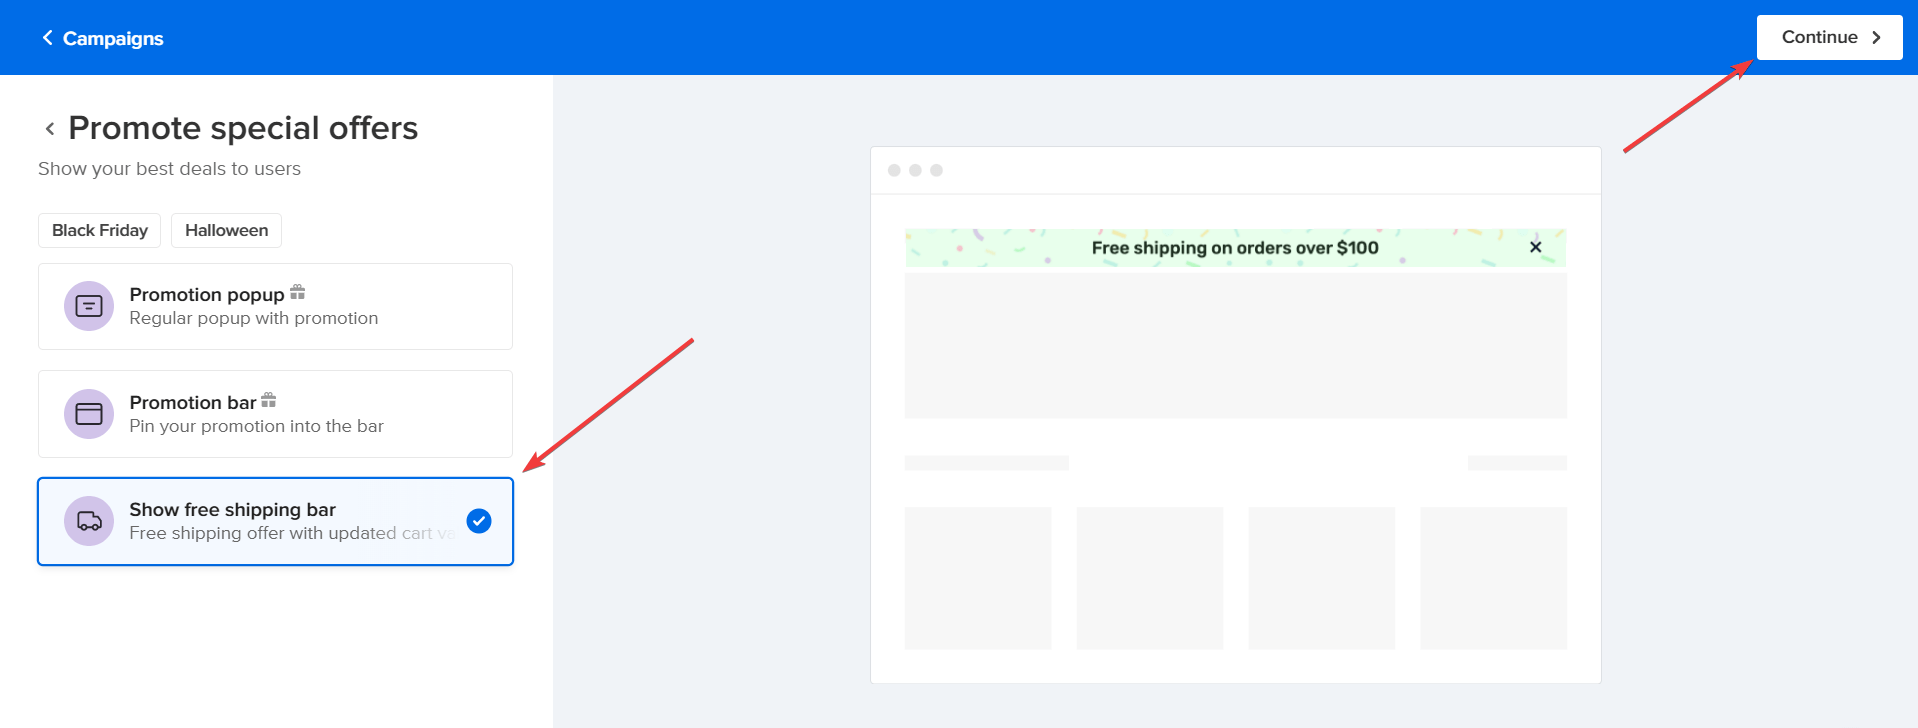
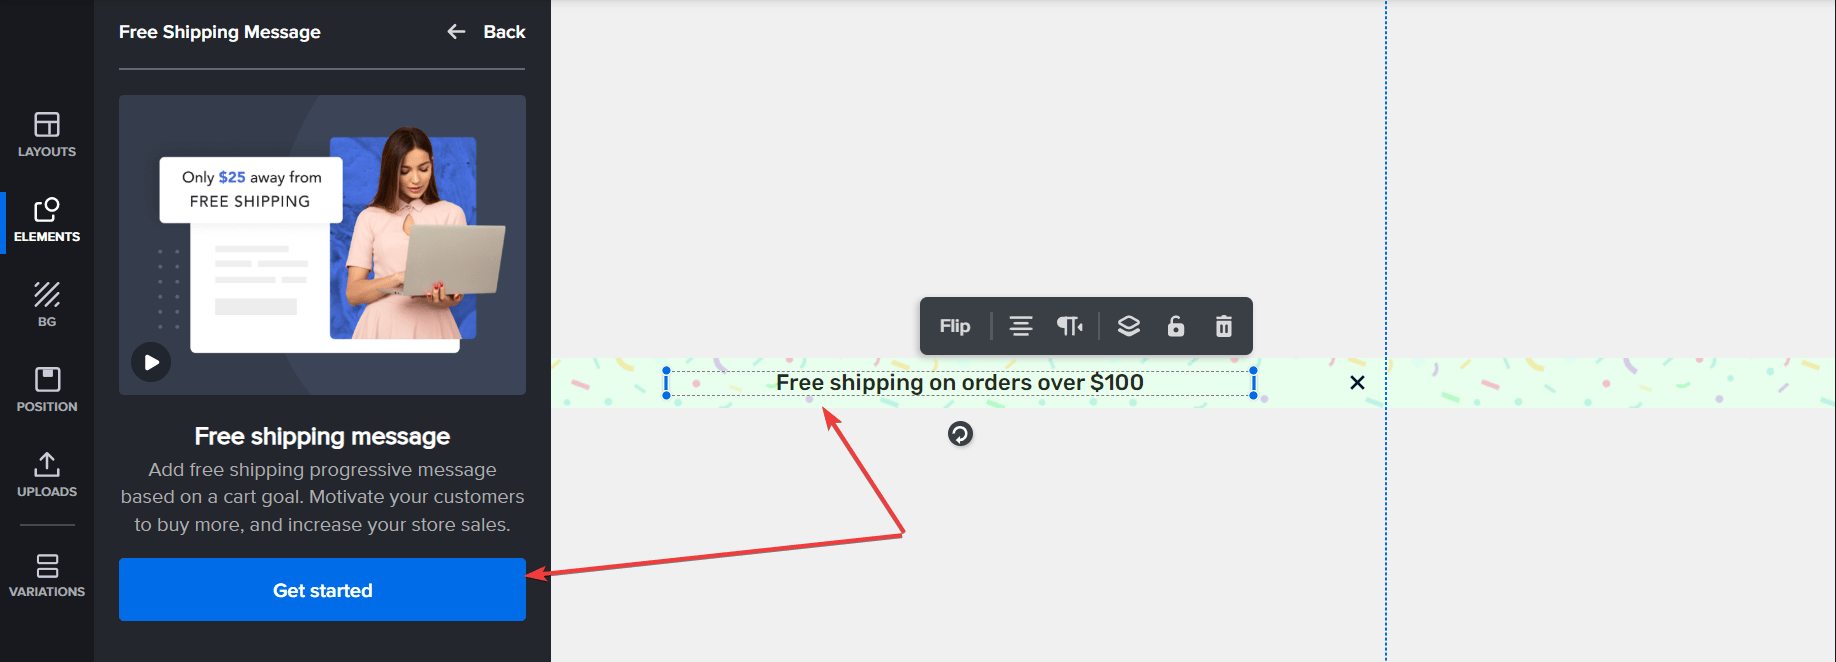
The next interface you will see is this:
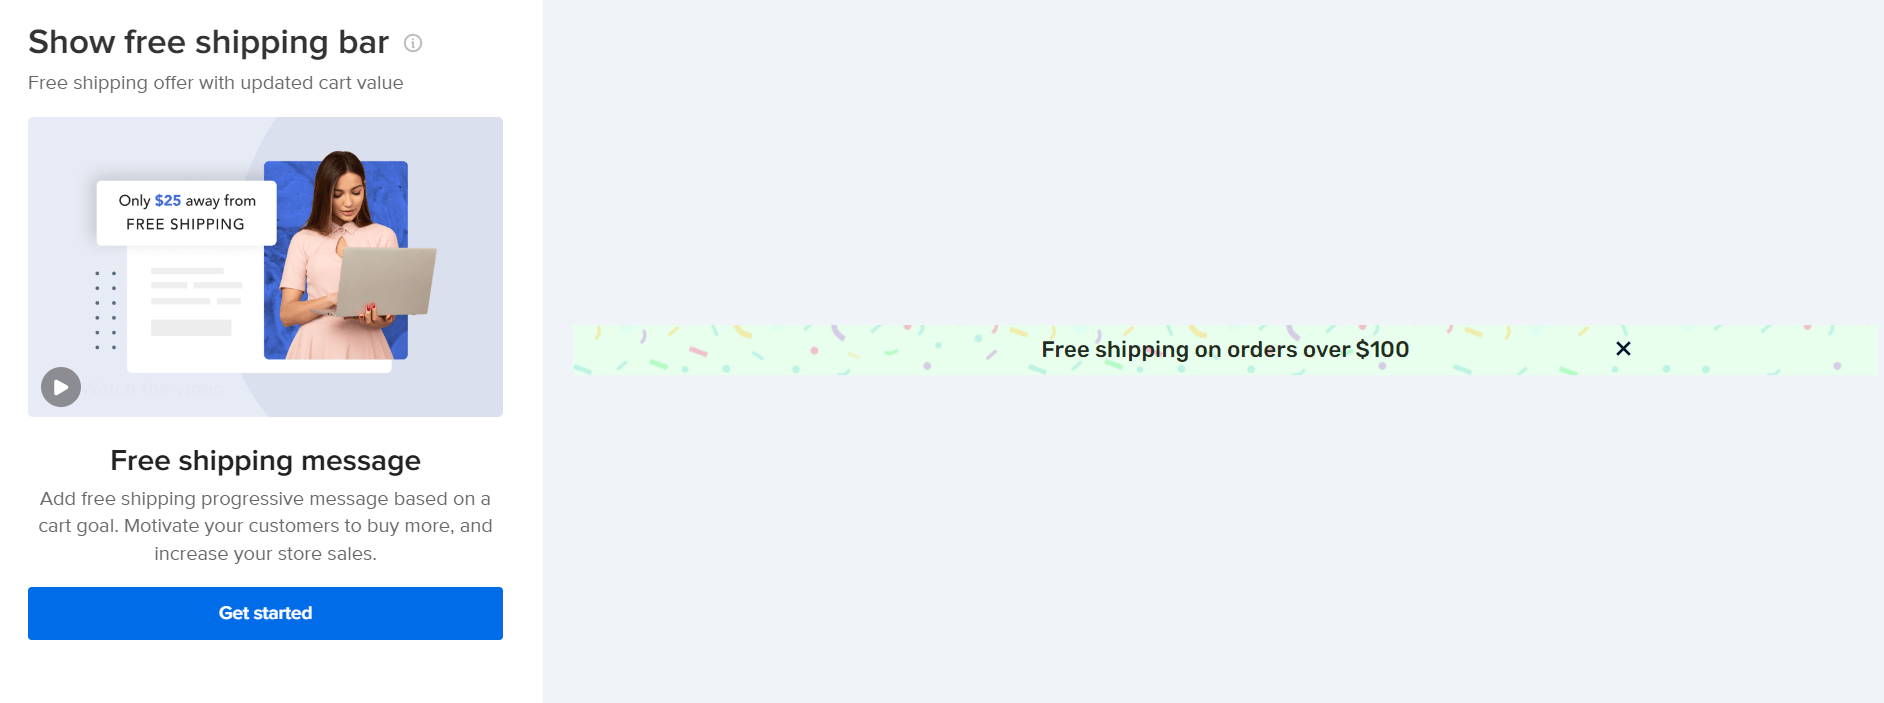
Click the Get started button after that.
For the free shipping bar to work well on your website, you need to modify the shipping settings for free shipping from your Shopify account.
To do that, click the Open Settings link like so:
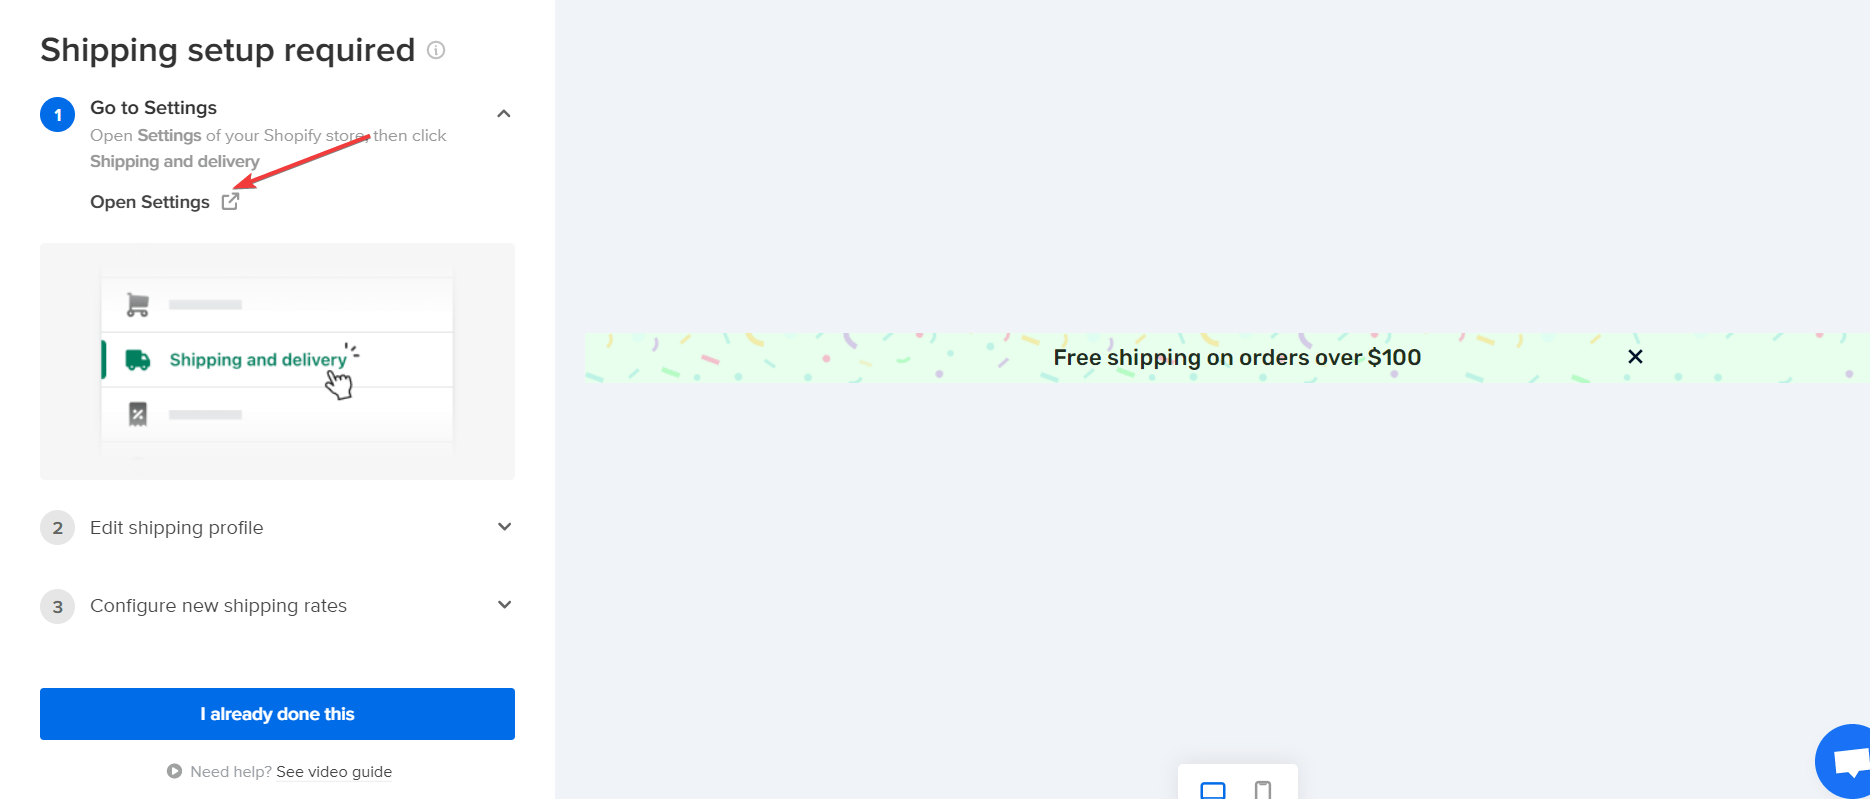
If you’ve done that already, click the I already done this button. Clicking this button will open the free shipping design editor.
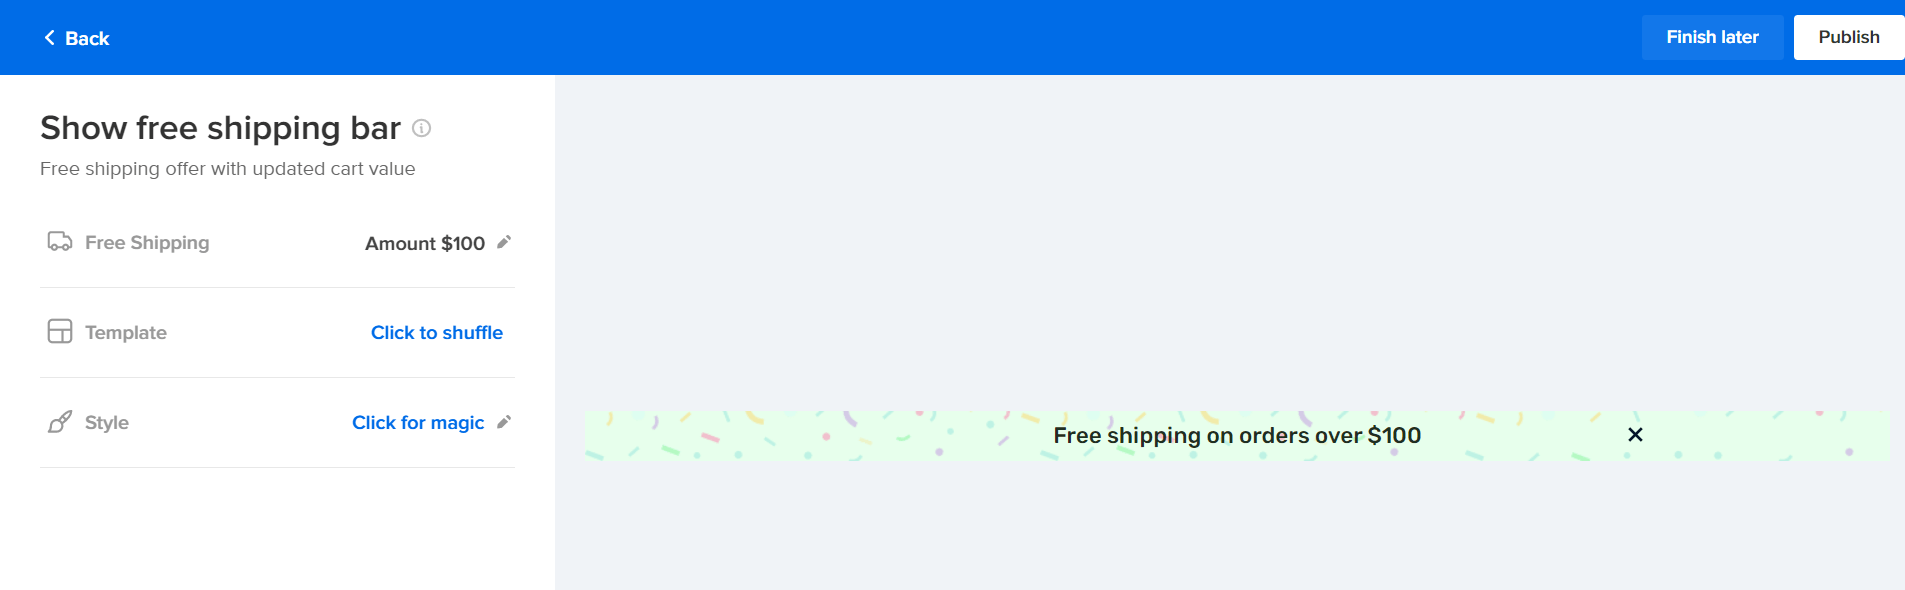
On this page, you can edit your free shipping amount, pick a free shipping bar template of your choice, change the style, and many more.
You could even edit the text and add your custom messaging. To do so, mouse over the campaign text, and this edit icon will pop up:
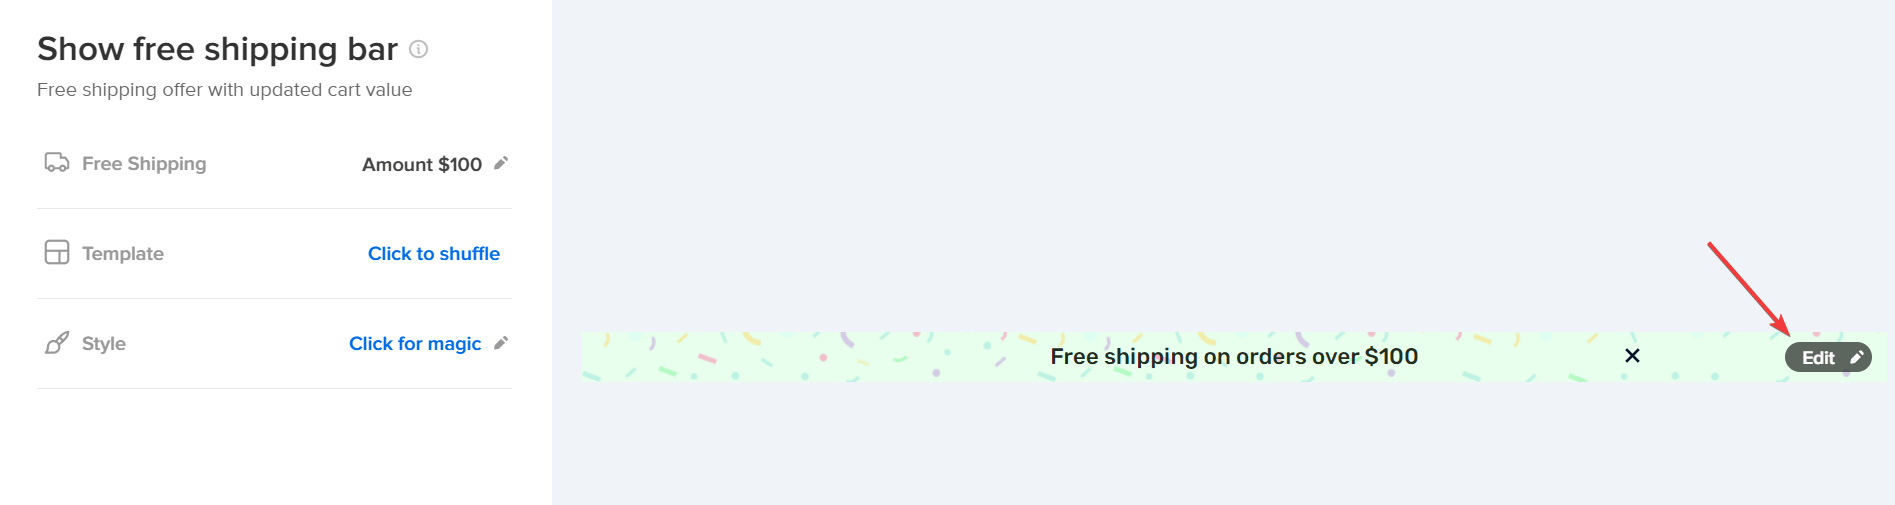
Click the icon, followed by the Continue in editor button.
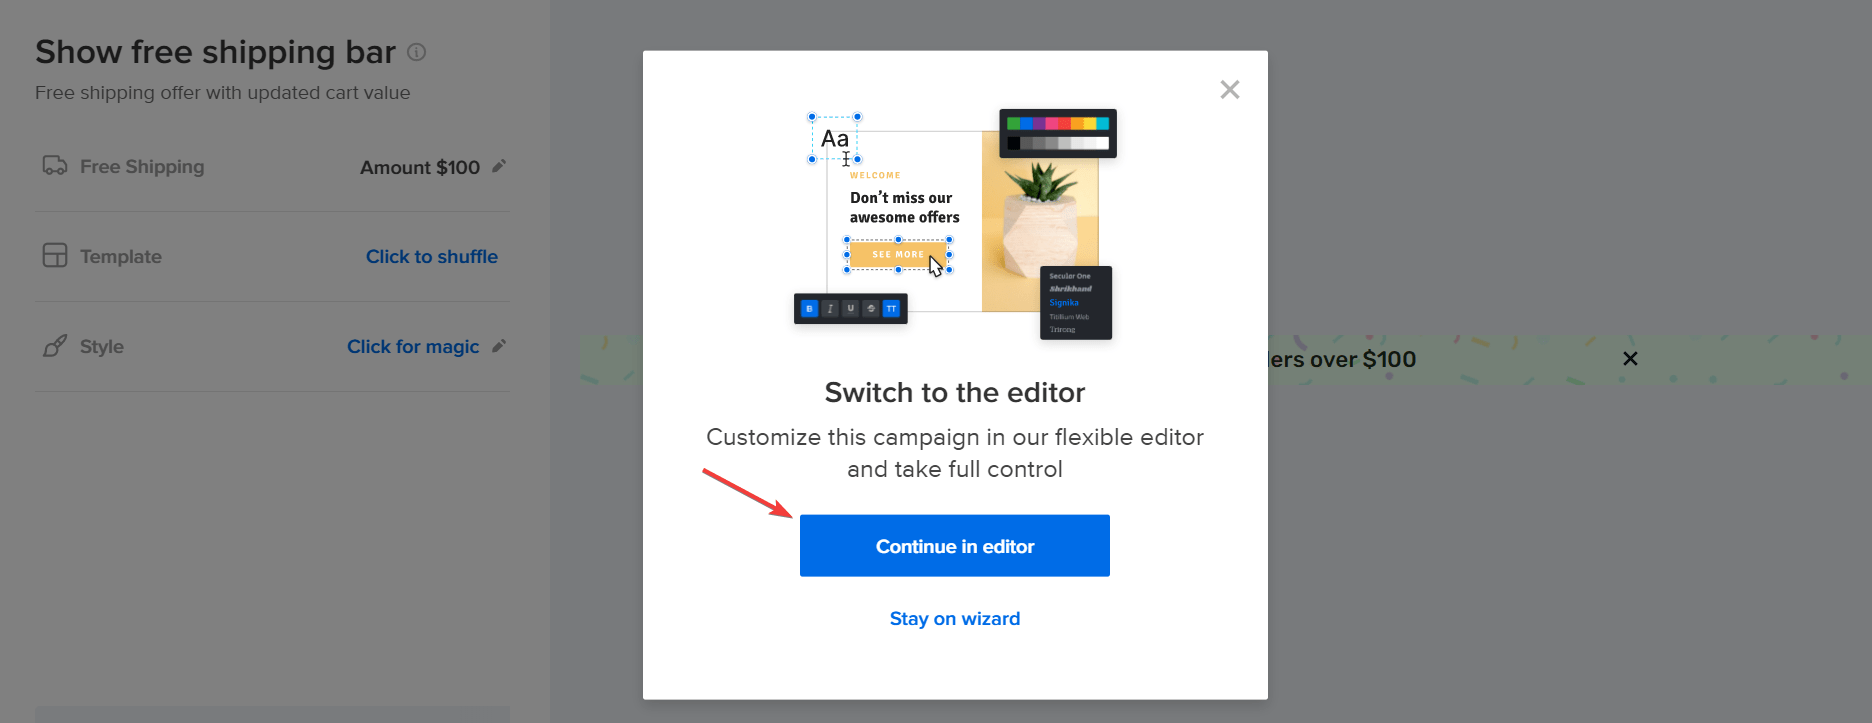
Upon clicking, you will automatically be redirected to Adoric’s design editor.
While in the editor, click on the free shipping bar text, followed by the Get started button.
You will be asked to configure your free shipping settings in Shopify. Since you’ve done this before, click the I already done this button.
Next, click on the Message tab to add your own custom messaging to the free shipping campaign.
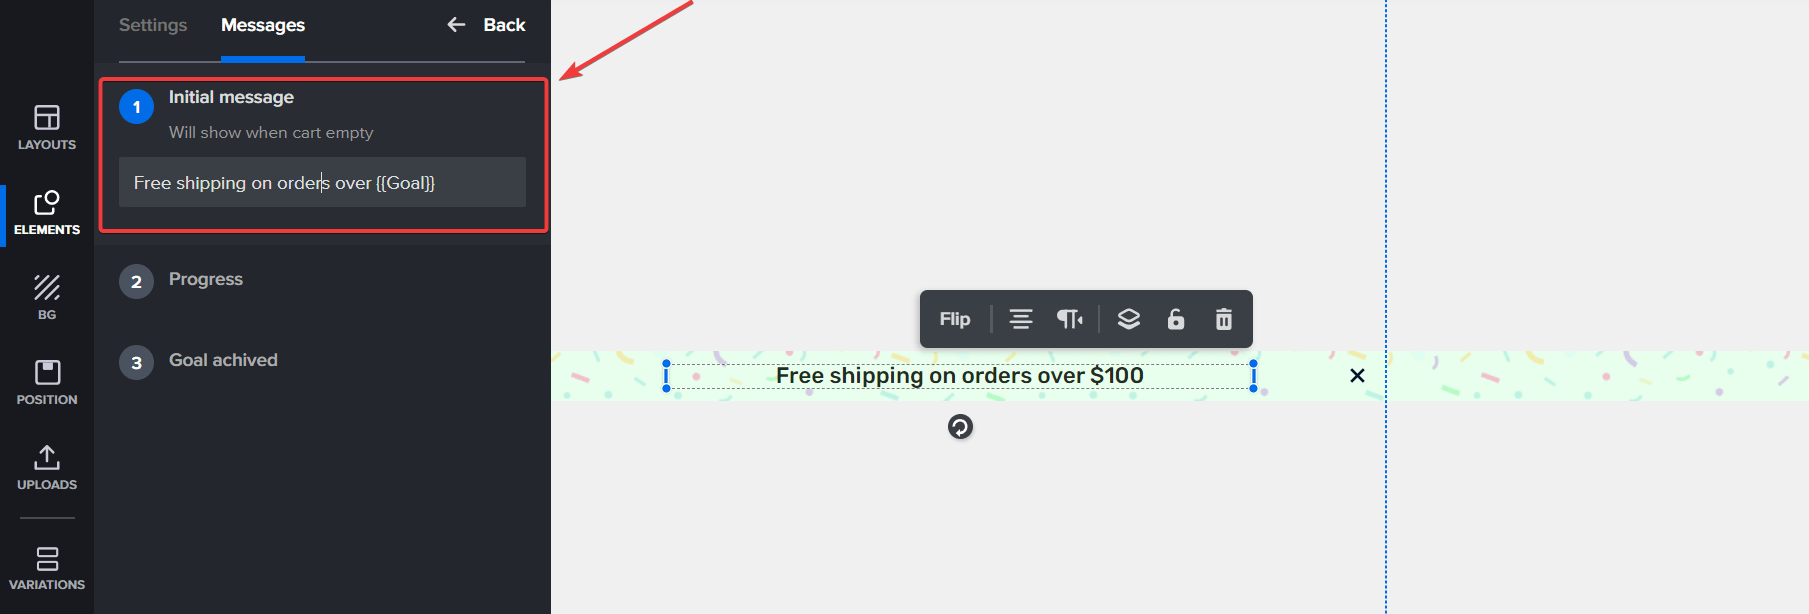
Here, you can configure your messaging and set your campaign’s progress and success message.
When you are done customizing your free shipping campaign, hit the Publish button at the top right corner of the screen. If you don’t want to publish it yet, select Schedule right beneath the publish button.
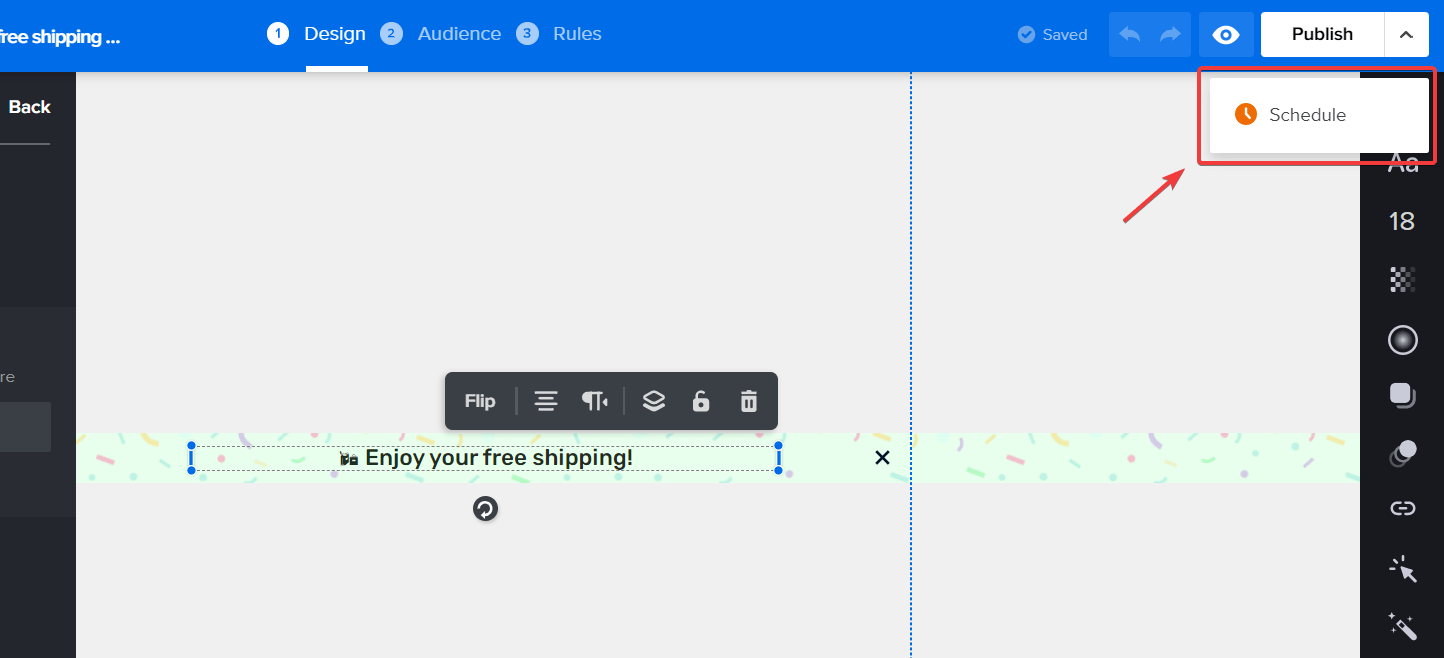
Scheduling your campaign allows you to publish it automatically at a later date.
Once you publish your free shipping bar, it will automatically appear on your Shopify website. And with that, you are done.
Of course, you can always edit and customize your campaign even after you’ve published it.
How to Create a WooCommerce Free Shipping Bar
Besides Shopify, Adoric also enables you to add a Free Shipping Bar to your WooCommerce website.
The steps are basically the same as that of Shopify.
But first, you have to install Adoric on your WooCommerce website.
To do so, you have to create an account with Adoric. After creating an account, log in to your Adoric dashboard and copy your account ID.
To do so, click the Settings tab.

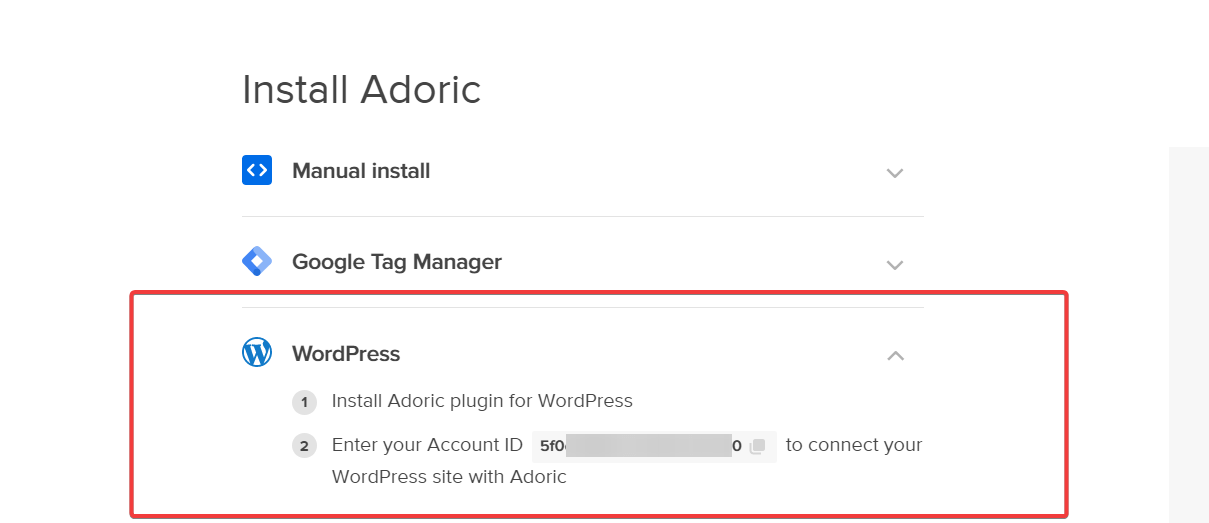
On the settings page, locate the WordPress dropdown menu, click it, and copy your account ID.
Next, log in to your WooCommerce admin dashboard and launch the plugin interface. There, search for Adoric.

Install and activate it like you would with every other plugin.
After installing and activating the Adoric plugin on your WooCommerce website, the next thing you will want to do is to connect it to your account.
To do so, launch Adoric from your admin dashboard.
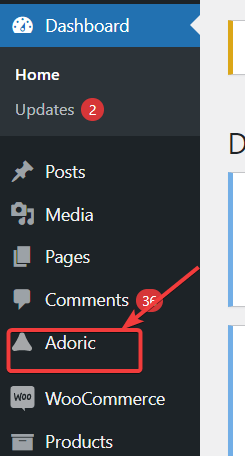
Then paste the account ID you earlier copied into the input field like so:

Then hit the Connect Adoric button.
To start creating your Free Shipping campaign, click the Create popup button like so:
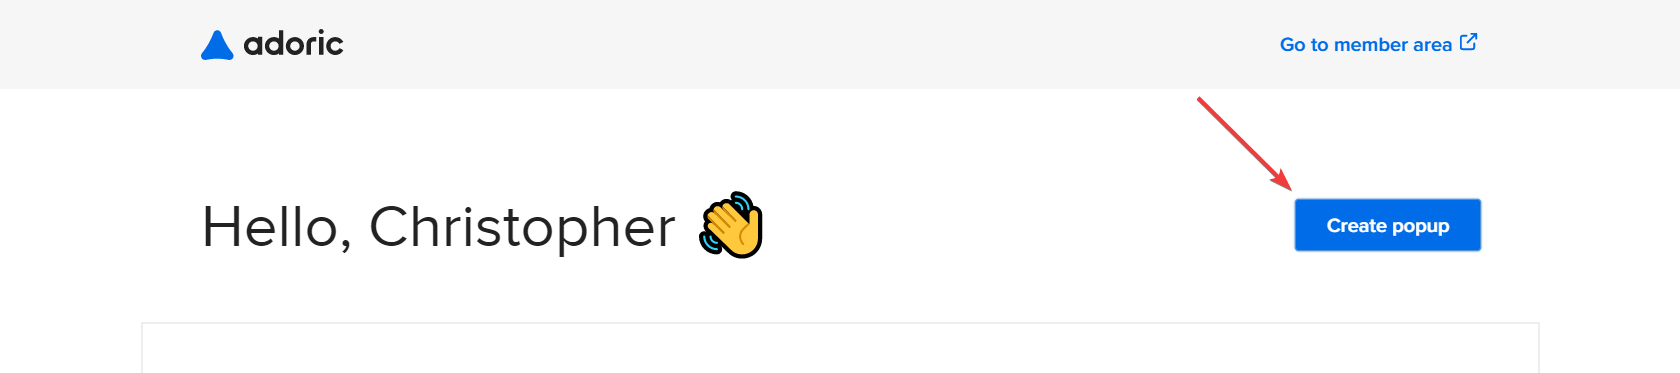
Follow the steps we outlined earlier for Shopify and publish your free shipping campaign.
How to Create Magento 2 Free Shipping Bar
To add a free shipping bar to your Magento website, we encourage you to contact us for custom support. We respond fast.
Conclusion
Adding a free shipping bar to your Shopify, WooCommerce, or Magento e-commerce website has many benefits, as you’ve seen in this post.
Thankfully, Adoric makes it super easy to add one to your website.
Ready to take Adoric for a spin?
Add Adoric to your Shopify website right away.