

Are visitors leaving your WordPress website even before you get the chance to convert them into subscribers and customers? Maybe you have made several fixes to your website’s design and layout, but the problem won’t go away.
If so, know that it isn’t particularly your fault. Research has found that about 60% of users will leave a website almost immediately when they arrive.
But we’ve got cheering news: with an exit-intent popup, you can recapture those abandoning visitors just before they are gone forever. This means an opportunity to make more sales and win more subscribers.
In todays’ post, you are going to learn how to easily set up an exit-intent popup in WordPress – for free! And in less than 10 minutes.
If you are ready, let’s get straight to it.
What Is an Exit-intent Popup and Why Do You Need One?
Exit-intent popups, simply, are popups that are displayed on users’ browser screens just when they attempt to exit a website.

Why do you need one for your WordPress website? Here are a couple of reasons:
To Reduce Cart Abandonment
Are visitors abandoning your online store without completing their purchases? An exit-intent popup can help you solve that problem.
But how? Simple. With it, you can entice visitors to come back and complete their checkouts just before they are gone – forever.
For Better Conversion
Struggling with poor conversion rates on your WordPress website? An exit-intent popup can help turn the tides in your favor.
Steps to Creating an Exit-Popup in WordPress
Adoric allows you to create an exit-intent popup right within your WordPress website without having to worry about editing your website’s code.
Here are the steps:
Step 1: Sign up for a Free Adoric Account
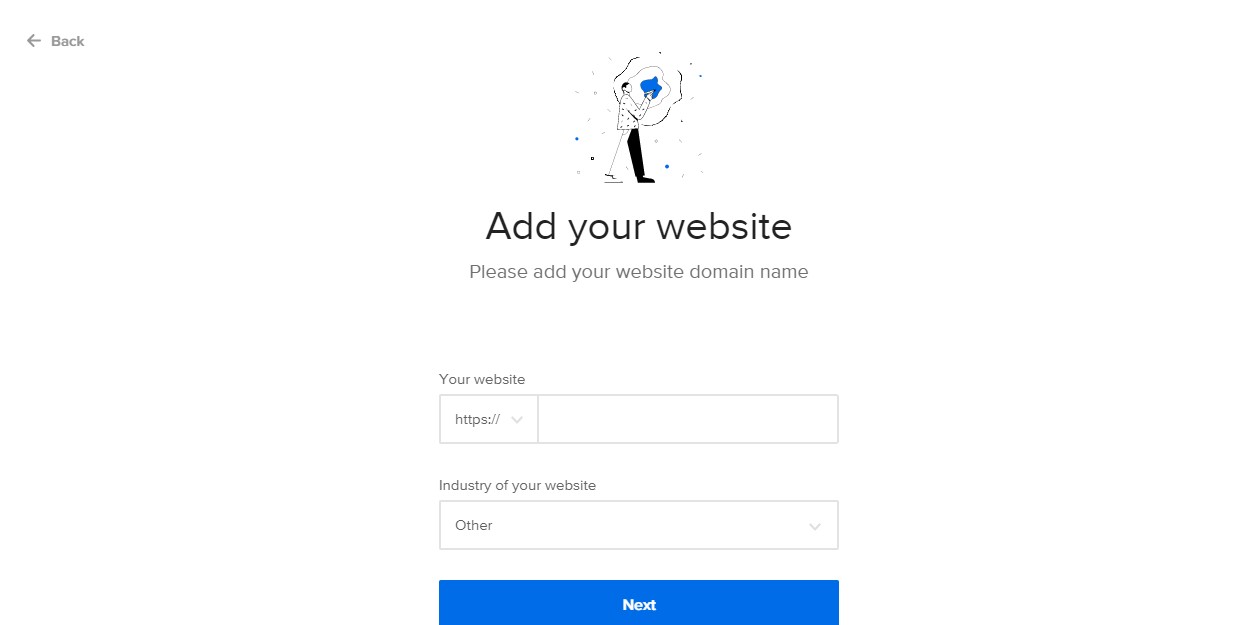
Your first port of call is signing up for an account with Adoric. Don’t worry, it’s free! And it’s an intuitive process.
During the sign-up process, ensure that you put in the website you intend to use Adoric on.
Step 2: Install Adoric Plugin to Your WordPress Website
After signing up for an account, the next step now is to install Adoric to your WordPress website.
To do so, log into your dashboard navigate to Plugins >> Add New
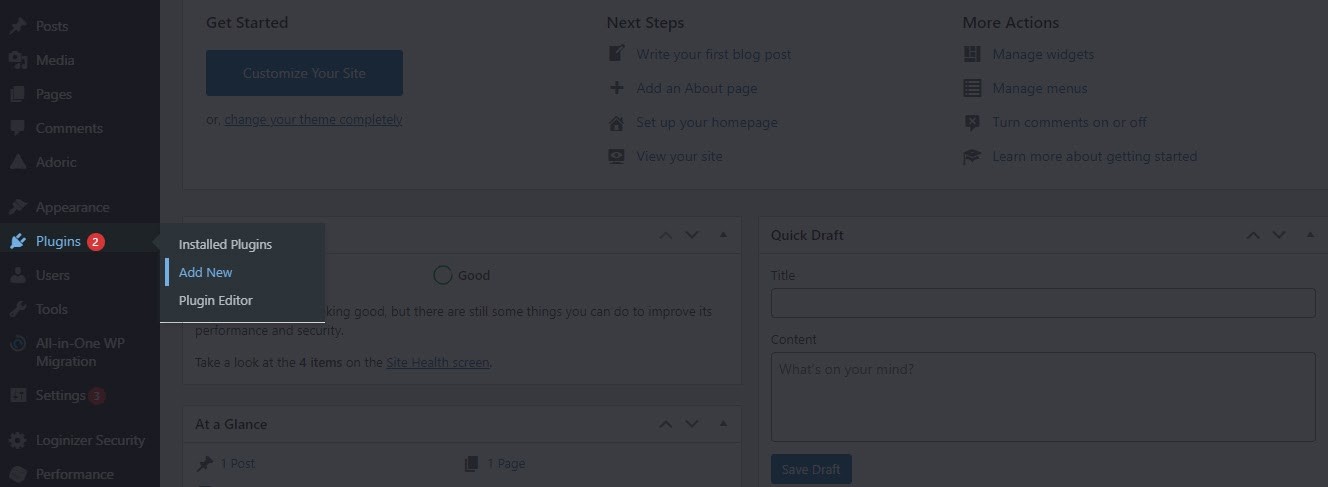
Search for Adoric and when you find it, install and activate.
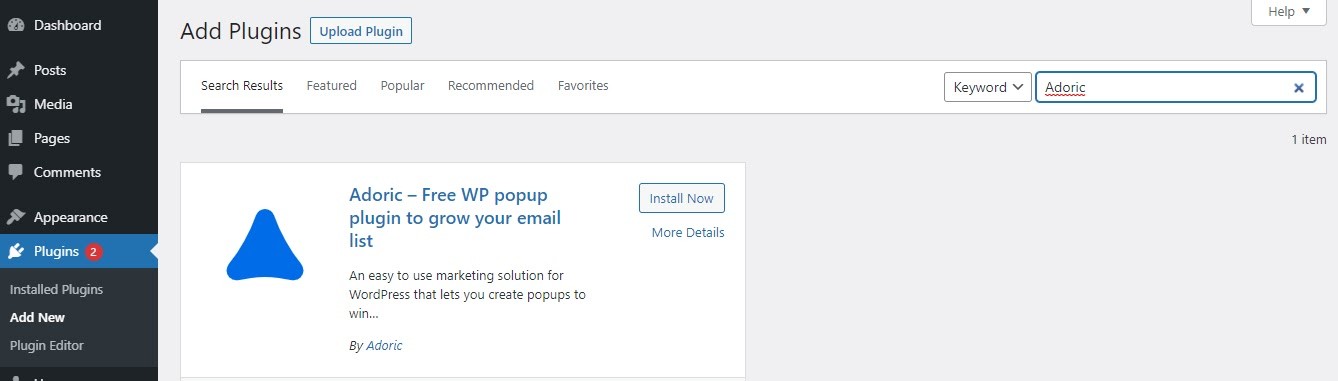
Alternatively, you could download the plugin from the WordPress repository and install it manually by clicking the Upload Plugin button.
Step 3: Connect to Your Adoric Account
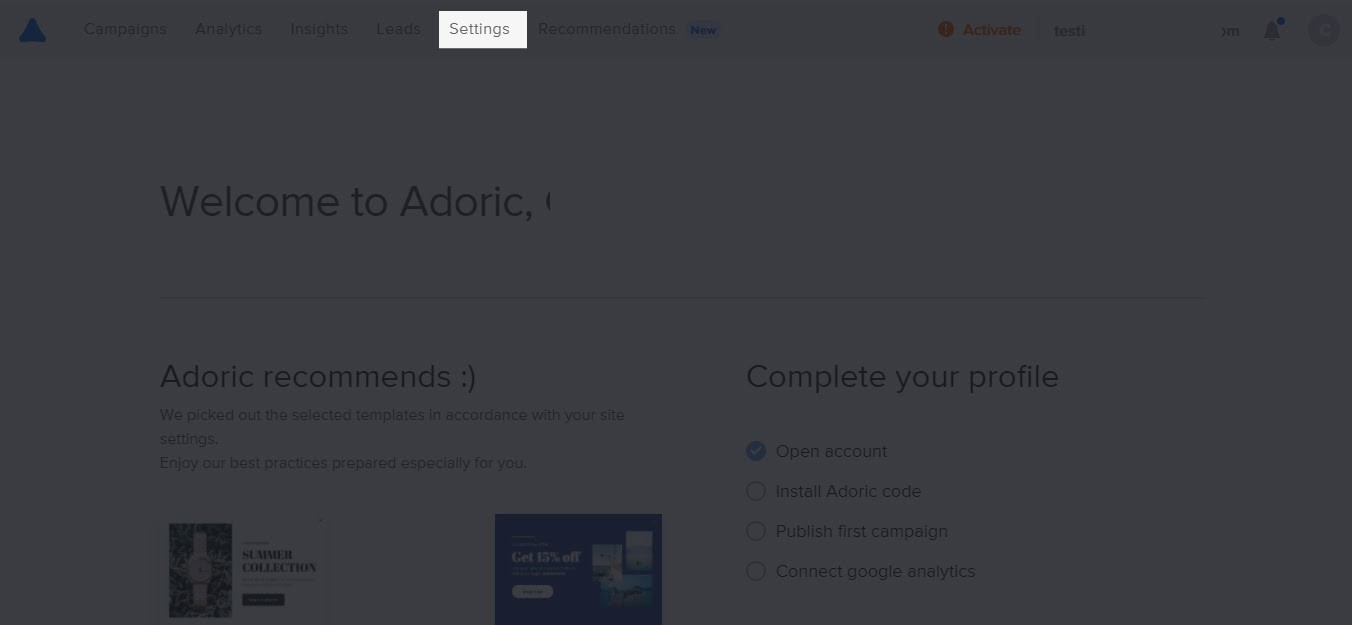
With Adoric installed and activated on your website, the next step is to connect your account. To do so, log in to your Adoric account. When you do, click on Settings.
On the settings page, scroll down a little until you find the drop-down box for WordPress. Click on it to open. Once opened, copy your Account ID by clicking the clipboard icon or copying manually:
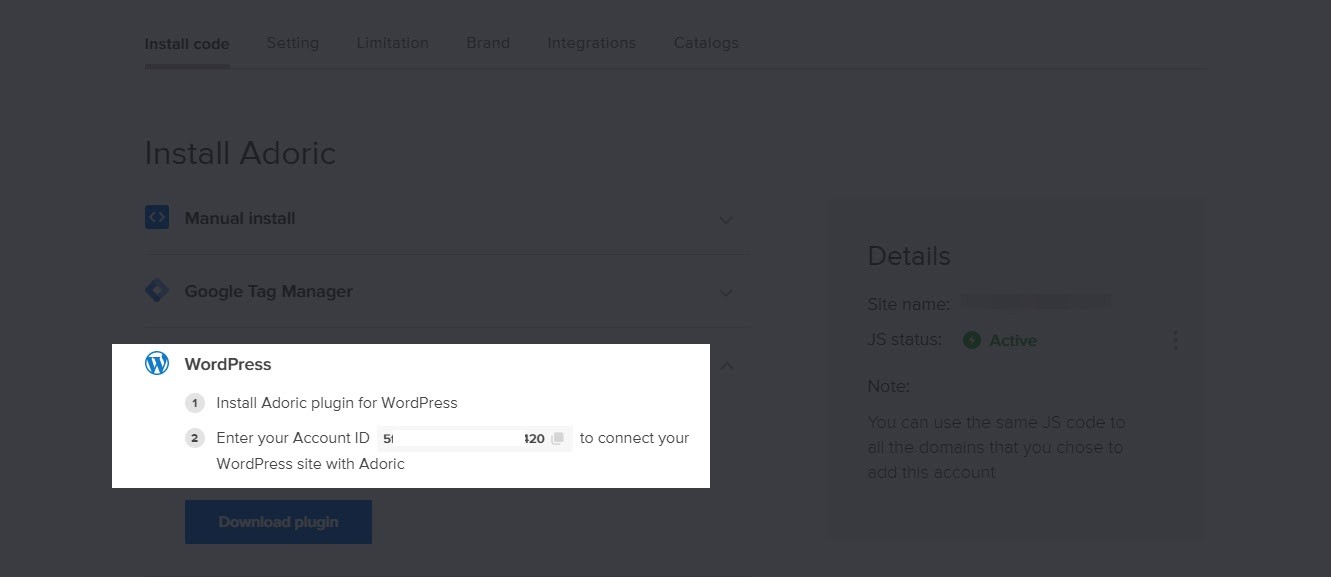
With your account ID copied, head back to your Adoric WordPress dashboard and paste the code you copied into the input field shown below.

Then hit the Connect Adoric button.
If all went well, you should have Adoric fully functional on your website.
Step 4: Create a Popup
While still logged into your Adoric account, click the Create popup button.

Note: if you get a 505 error message upon clicking that button, it means you aren’t logged into your Adoric account. So, ensure you do before clicking.
After clicking that button, you will be redirected to Adoric’s drag-and-drop builder. This is where you get to build out your popup.
If you’ve got time to spare, you can build the exit popup from scratch by dragging and dropping elements and forms to the design canvas, and editing as you please afterward.
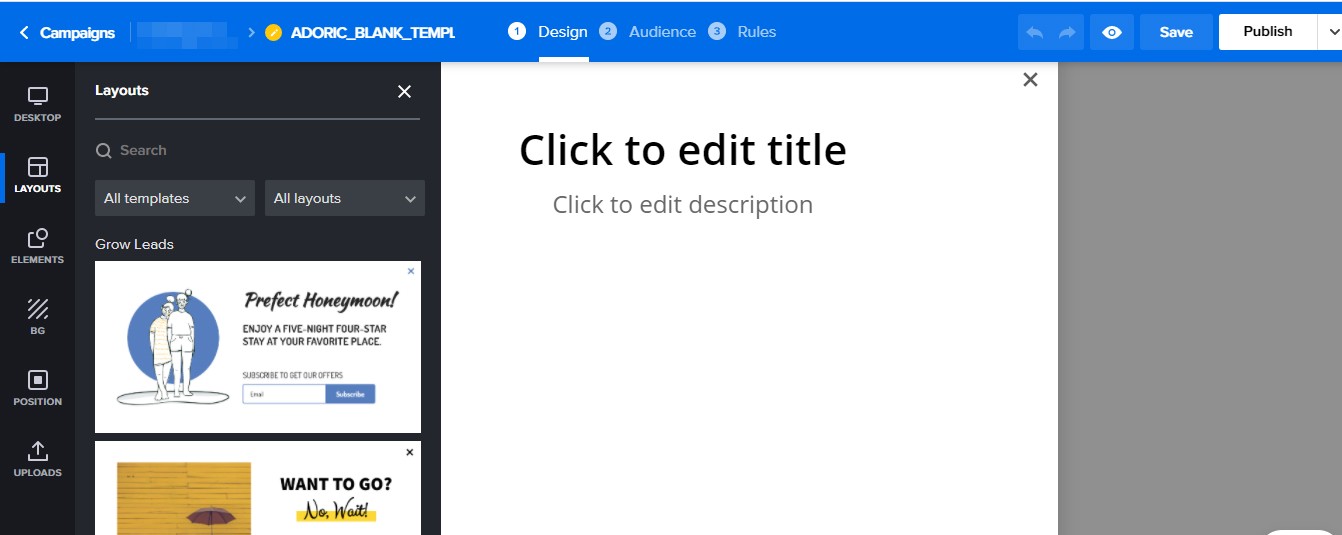
But if you don’t, simply pick any of our templates, then tweak and edit to your heart’s content.
For this illustration, we will be using the Perfect Honeymoon template you can see by the left corner. If you wish to follow along, simply click on it, and the popup will automatically drop on your canvass.
The next thing you will want to do is to click the Rules tab:

Doing so will take you to the Trigger page. This is where you get to set the parameters for the exit popup that you are looking to create.
Once there, click Exit intent
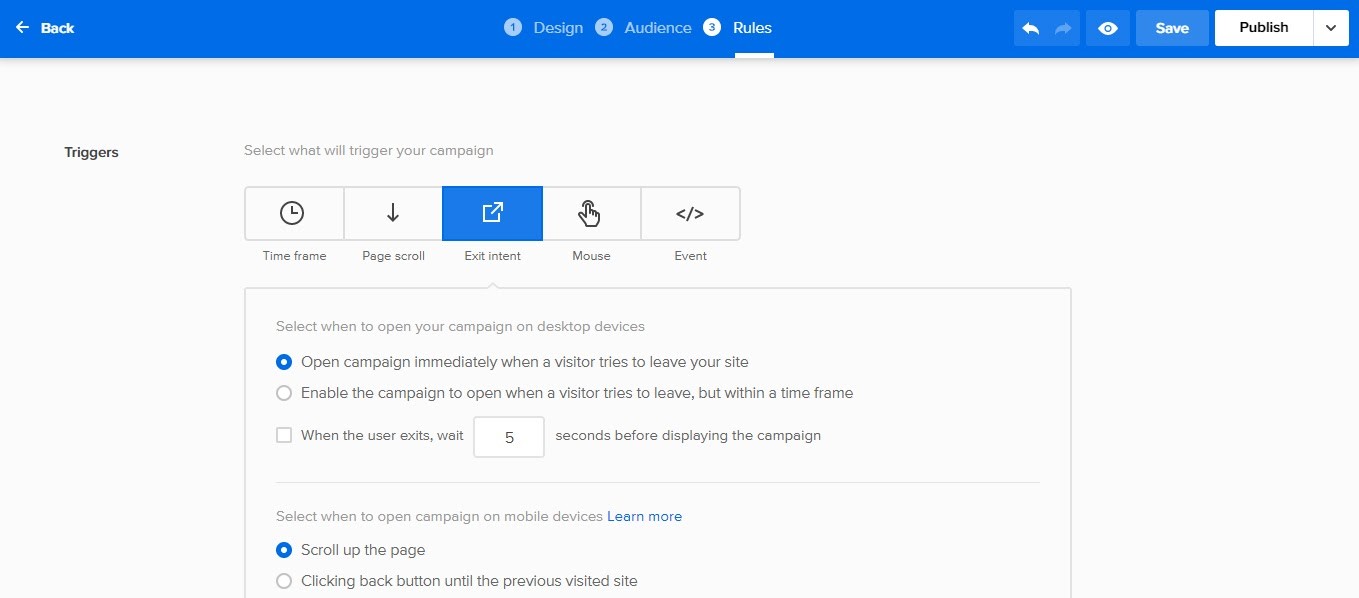
You can use the default parameters, or change them to whatever pleases you.
When you are done, click the Save button at the top-right corner. If you want the popup to go live on your website, hit the Publish button.
And you are done! Was easy and fast, wasn’t it?
Wrapping It Up
Exit-intent popups are a great way to win back abandoning visitors and grow your sales and subscriber base.
Creating and deploying one to a WordPress website has never been easier, thanks to Adoric, We recommend here the best WordPress Themes for your website.