

Are you looking for the right plugin to create a multi-step opt-in popup on your WordPress website/blog?
Try Adoric!
Adoric is one of the best opt-in form plugins for WordPress that makes it possible for you to create a multi-step popup with ease.
In this post, you will get to learn how to create one on your website. Not to worry, it’s an easy-to-follow tutorial.
But first, what really is a multi-step popup, and why would you need one?
What Is a Multi-step Opt-in Popup?
Simply put, a multi-step opt-in is a type of opt-in popup that is broken into several steps – typically 2 to 3.
Usually, in step one, visitors could be asked if they are interested in an offer. If they clicked yes, the next popup prompt could ask for their emails/phone numbers.
Then finally in step 3, maybe a “Thank you” popup would appear thanking visitors for dropping their emails.
Getting the idea?
This illustration will definitely help you get a better idea of what a multi-step popup is all about.
Do keep in mind that multi-step popups go by many names: 2-step popup, Yes/No popup, etc.
Why Use a Multi-step Opt-in Popup?
So, why take the stress of creating a multi-step popup when you could have just opted for the regular one-step popup?
Well, there are quite a number of reasons.
Firstly, if you have a long opt-in form that you would like your visitors to fill out, breaking it into multiple steps will help to reduce form fatigue.
Ever heard of form fatigue? It happens when users get tired and worn out from filling out a rather lengthy opt-in form.
Secondly, a multi-step opt-in popup can really help to boost your conversion rate. But how’s that even possible?
According to the findings of Bluma Zeigarnik, a psychologist, people tend to remember unfinished tasks more easily than finished ones. As such, they will most likely see through whatever task they voluntarily started.
In plain English, once users start to interact with your multi-step form, they will most likely finish it. This means better conversions for you.
How to Create a Multi-step Opt-in Popup in WordPress
By now, hopefully, you’ve known what a multi-step popup is about, and why having one is needful.
Next, I will be showing you the steps for creating one in WordPress using Adoric.
To make it easy for you to follow this tutorial, I have broken the steps into 2 broad categories:
- Install and activate Adoric on your WordPress website
- Create and publish the multi-step popup
Buckle up!
Install and Activate Adoric on Your WordPress Website
Step #1: Install and Activate Adoric
The first step to creating a multi-step popup is installing and activating the Adoric plugin on your WordPress website.
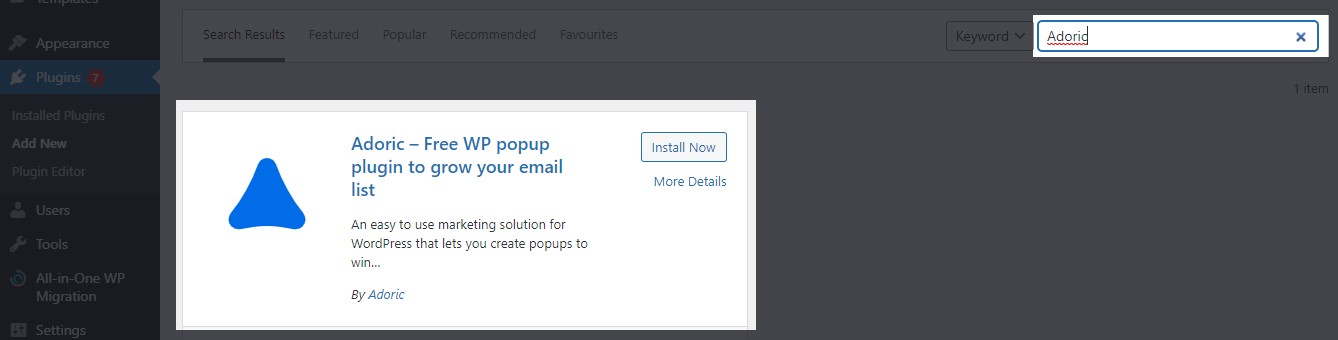
To do that, log into your website dashboard, navigate to Plugins >> Add New. Search for Adoric. When you’ve found it, install and activate it.
When you are done with activation, proceed to the next step.
Step #2: Create a Free Account
For Adoric to work properly on your WordPress website, you need to create an account. To do that, from your WordPress dashboard navigate to Adoric >> Dashboard.
Then click the Sign up free link.

Upon click, you will be directed to the subscription page.

Fill out your name, email address, and set a password on your account. Then continue the signup process until you are asked to provide your website domain details.
Ensure your website’s URL is properly typed and continue.
If all went well, you should see this page:
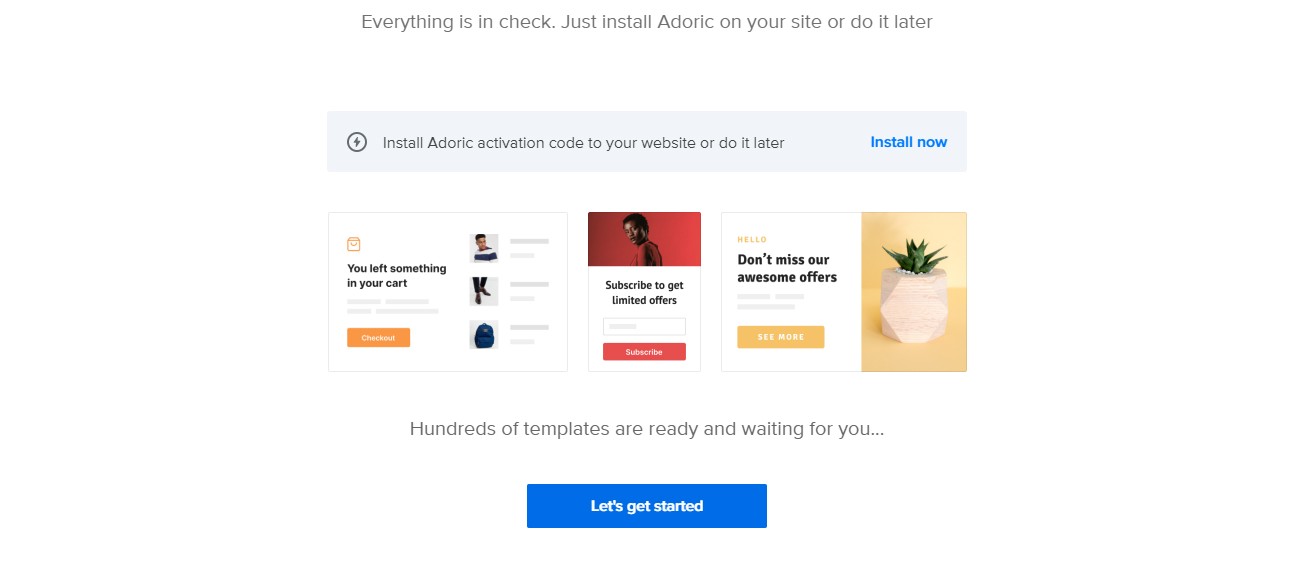
Then click the Let’s get started button.
Step #3: Connect Adoric to Your WordPress
After creating a free account with Adoric, what follows afterward is to link it to your WordPress website.
To do that, from your Adoric account dashboard click the Activate link like so:

This will bring up the plugin activation page. On that page, click the WordPress dropdown menu, and then copy your Account ID.
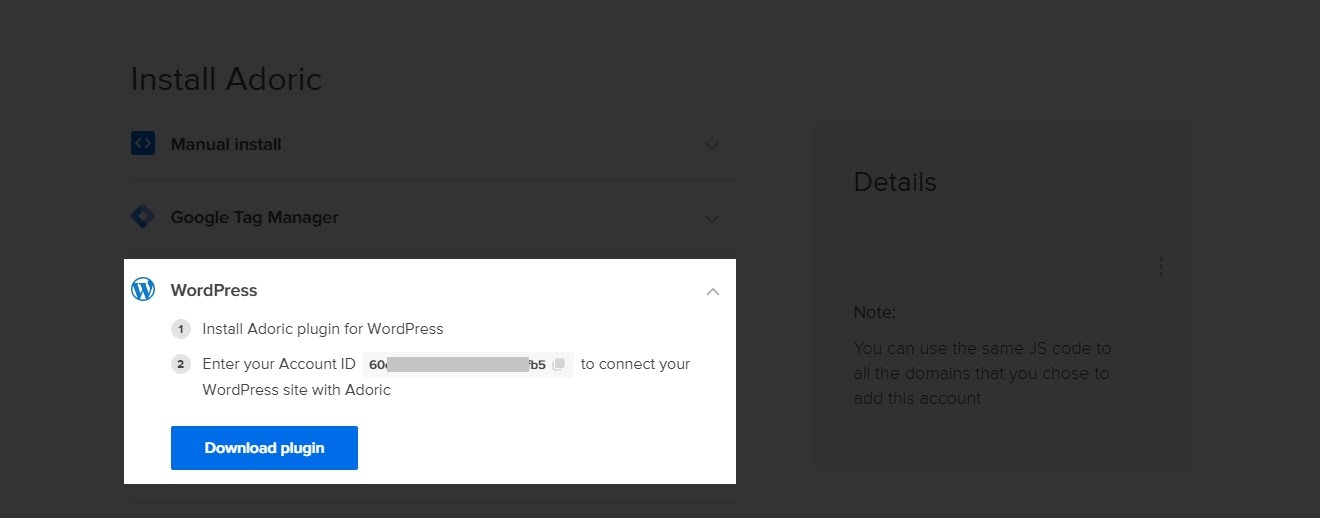
With the ID copied, head back to your WordPress dashboard once more, and again navigate to Adoric >> Dashboard
Paste in the copied ID and then hit the Connect Adoric button.

Once your account has been connected, it’s time you started creating the multi-step popup.
Create and Publish the Multi-Step Popup
Here are the steps to creating and publishing a multi-step popup to WordPress
Step #1: Create a Popup
After linking WordPress to your Adoric account, here’s come the point where you start to create your popup.
To do that, simply click the Create popup button like so:
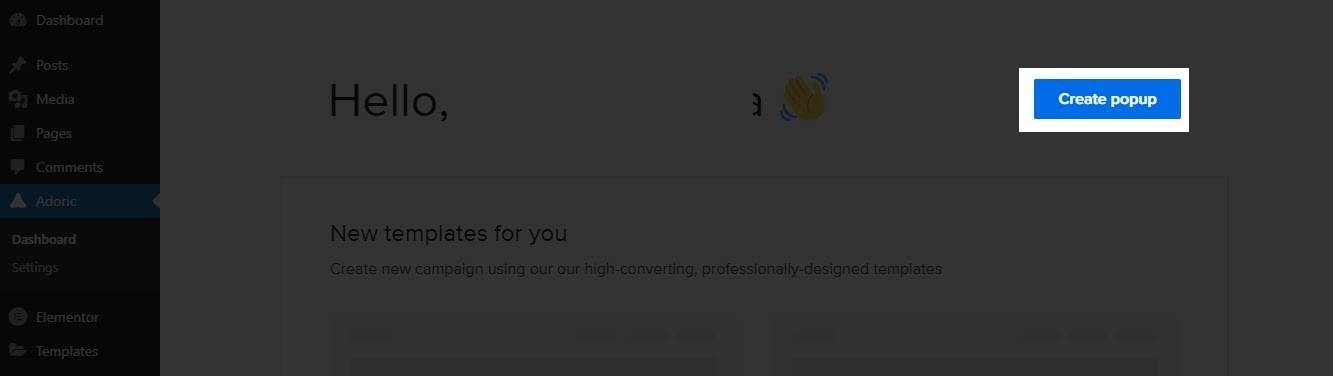
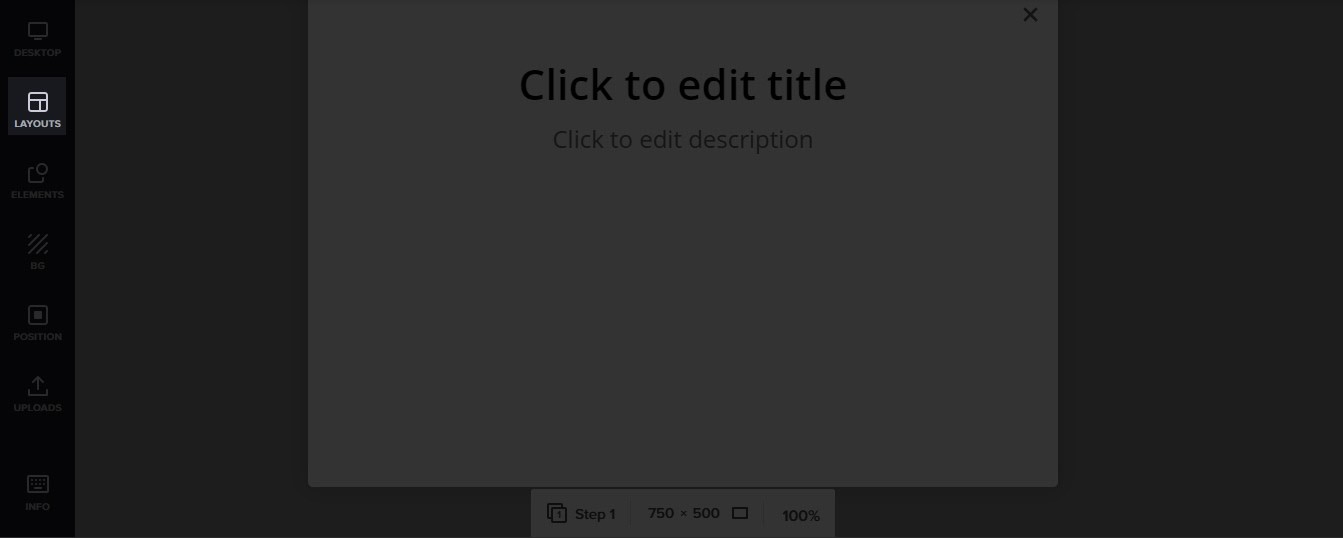
Upon click, you will be directed to Adoric’s design editor. This is where you will be building the multi-step popup that you are looking to create.
Now, you can start from scratch to build the popup. But that would be time-consuming and somewhat tedious.
Thus, it’s best to bootstrap the process with one of our templates.
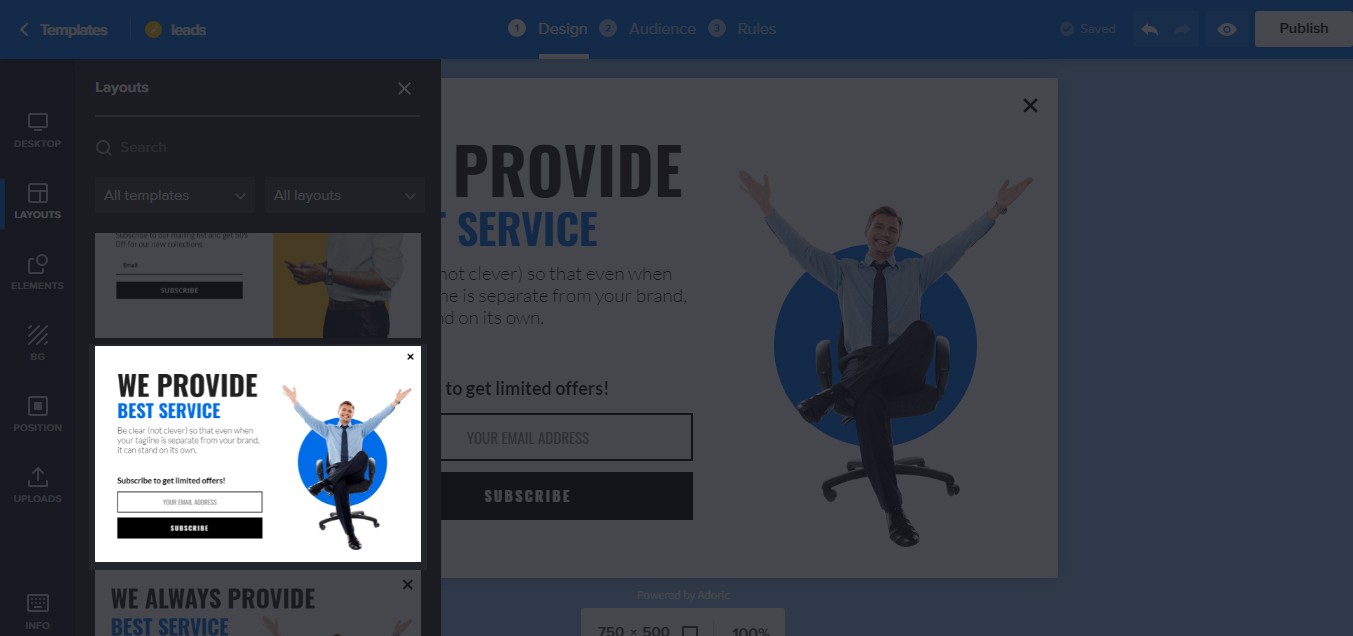
To pick a template, click the Layouts tab on the left pane
After that, scroll through the available templates until you find the one you like.
Here’s the one that I will be using for this tutorial:
The next thing to do now is to edit and tweak the template. To do that, select any element on the popup template by clicking on it. Then make whatever changes you deem necessary.
After that, add a CTA to the popup. In this case, I will be adding two buttons: one a Yes button, and the other a No button.
To do that, simply click the Elements tab which is also on the left pane as well. When you have, click the Button element. When you click, a button will automatically drop on the design canvass.
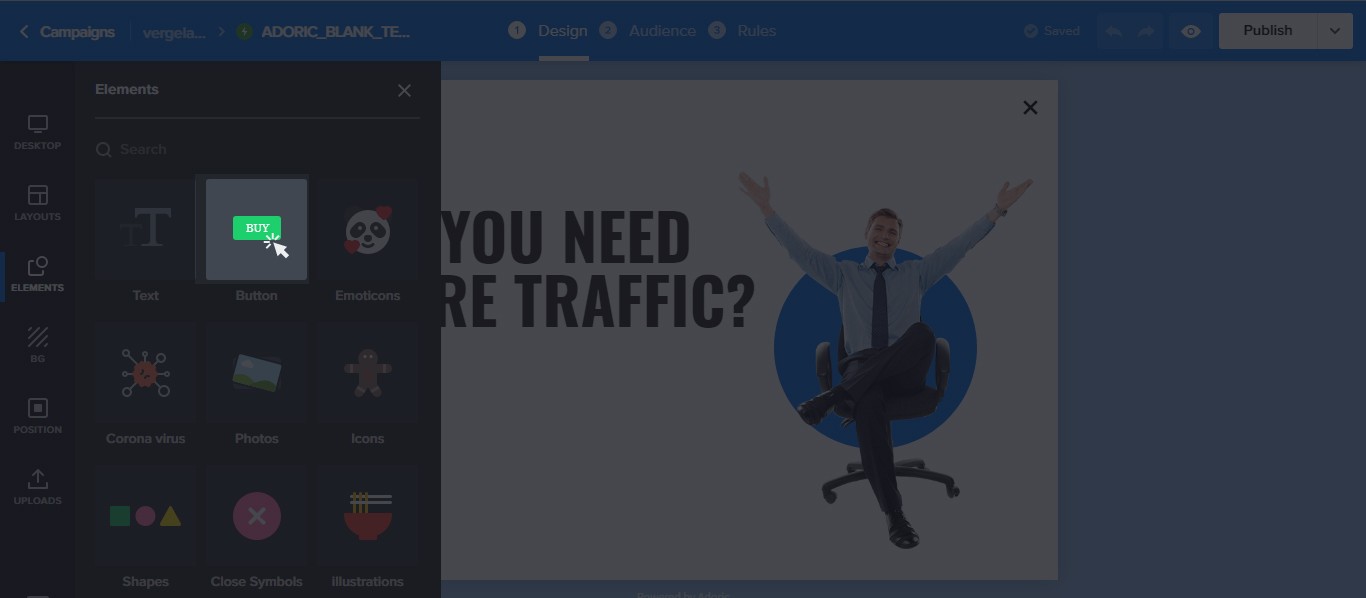
Insert two buttons, and name them “Yes” and “No, not interested”.
Then style the buttons however you want by changing color, font, and position.
Now, the idea is, when users click the Yes button, they would be redirected to the next step. But if they clicked No, the popup would automatically close.
Step #2: Make the Popup Close When Someone Clicks No
Select the No button by clicking it. Next, click the Link actions, and then set it to Close actions.
Step #3: Add Steps to Your Popup
To add a step to your popup, navigate to Desktop and then click Add step.
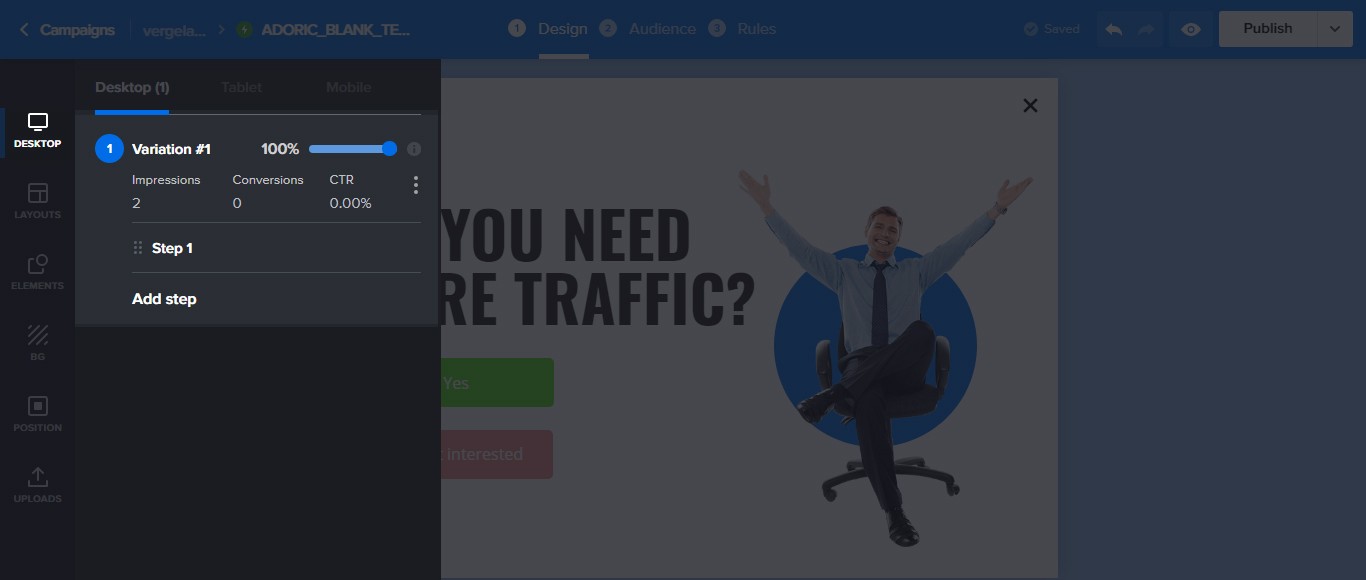
Upon click, an additional step will be added to the popup you had just created, and it will be named Step 2.
The added step will look exactly like the initial design. What you will want to do now is to edit it and add an opt-in form.
Here’s how my Step 2 popup looks like in the end.

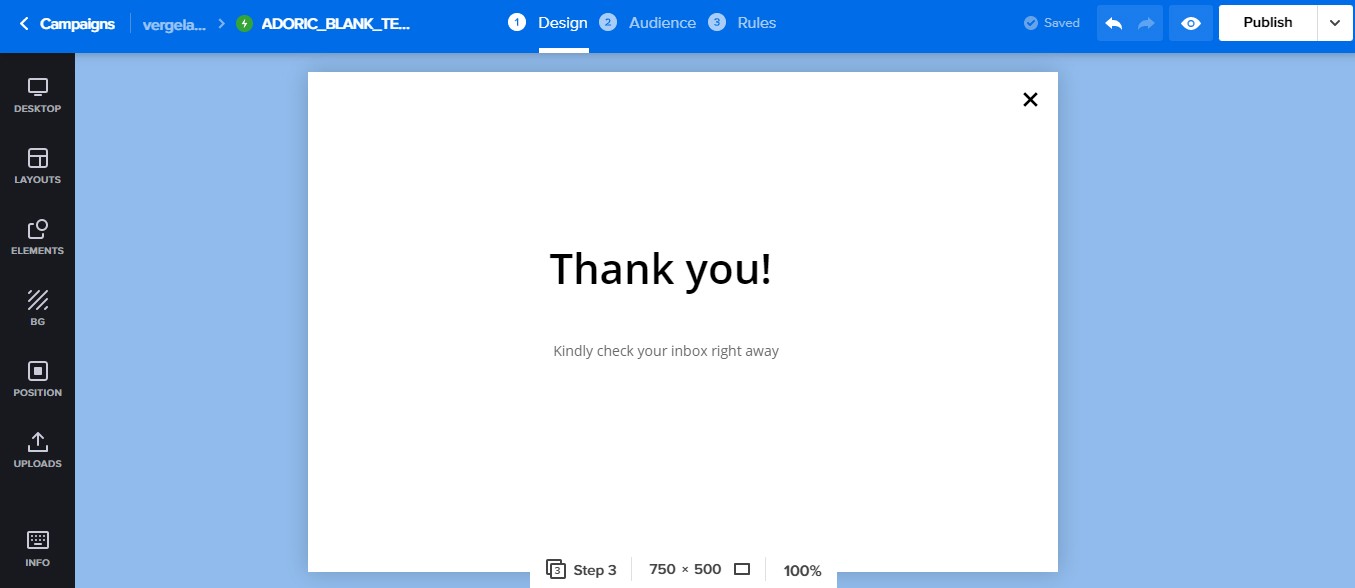
When you are done, add the third step to your popup. It will be the “Thank You” popup. By this, I mean where you get to thank your visitors for dropping their email.
Like you did before, add another step to the popup, and then a thank you note to it.
Step #4: Link All the Steps
With all the steps ready, the next thing that you will want to do now is to connect all of them.
To do that, open the very first popup (step one), select the “Yes” button, and in the Link options, pick Step. Ensure that it is set to Step 2.
Next, open the Step 2 popup. Click the signup form, followed by Redirect.
You will be asked to choose what happens when the submit button has been clicked. Set it to Step, and then select Step 3.
When you are done, hit the Apply button.
Step #5: Publish Your Multi-step Opt-in Popup
At this point, your multi-step popup is ready. What’s left now is to publish it. Just click the Publish button at the top right to do that. And boom, the popup is live on your website.
Additional Settings
By default, the published popup will appear on every page on your website. You might not want that.
Thankfully, with Adoric’s trigger and targeting feature, you can make it appear on a specific page.
To do that, click the Rules tab at the top, scroll down to Placement, click the Specific page button, and follow the instruction below.
What’s more, you can even make the popup appear the instance a visitor attempts to leave your website by using our Exit-intent technology.
Doing that will help boost your conversion and opt-in rate.
Conclusion
So there you have it; easy steps to adding a multi-step opt-in popup to your WordPress website. It’s my hope that you found it insightful.
Ready to take Adoric for a spin? Sign up for a free account right away.