
Are you looking for a way to persuade visitors to your WordPress website to take immediate action without having to dilly-dally?
Perhaps, you want them to swiftly sign up for your newsletter, make a purchase, or just visit a page. If so, all you have to do is to add a countdown timer to your website.
Countdown timers help to create excitement. They help stimulate a sense of urgency that makes visitors want to act promptly and jump at your offers without wasting time, thus increasing your sales.
In this post, you will learn how to add one to your WordPress website in a breeze.
But first the basics:
What Is a Countdown Timer and Why Use It?
A picture, they say, is worth more than a thousand words. Thus, a graphical illustration will be of great help here.
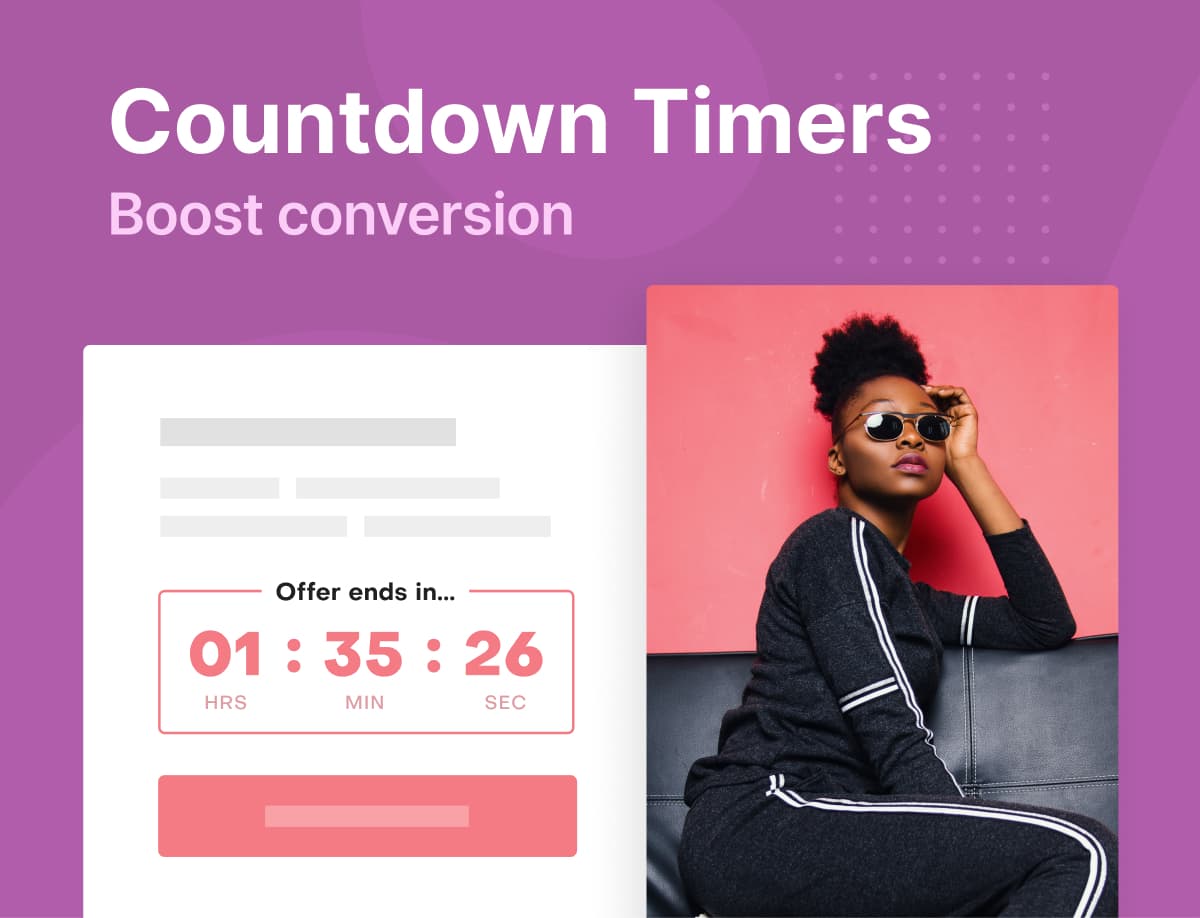
Have a look at what a countdown timer looks like on the homepage of a website

As you can see, it’s just a digital clock that counts down to a time in the future. That’s a no-brainer, right?
So, why use it on your website? To create excitement and anticipation, basically. As such, they are best used when you are looking to:
- Create anticipation and excitement about an upcoming product launch
- Promote time-sensitive sales offers. Eg. Black Friday or Cyber Monday deals
- Make visitors quickly sign up as subscribers
- Promote your webinar to get as many attendees as possible
- To create scarcity and hence make your product look highly valuable
- Make visitors wait with excitement while you take your website down for maintenance
Let me excite you a little. Did you know that when used properly, countdown timers can increase your sales by 30%? Yeah, that’s right! So, they are well worth it.
Creating a Countdown Timer in WordPress Using Adoric
While there is a slew of solutions on the market that you can use to create a countdown timer in your WordPress website, Adoric is, without question, the best of all.
Now, you might think that’s a biased opinion. Truth is, it’s not, and here’s why: Adoric comes with lots of exceptional features to make your countdown timer pop. Here are some of them:
- Highly editable countdown timer that you can add anywhere on your website
- Intuitive drag-and-drop design editor for creating eye-catching marketing campaigns
- 10,000+ free graphics design elements for making your campaigns visually impressive
- A huge collection of pre-designed templates you can edit and tweak to your heart’s content
- Accurate audience targeting that ensures only the right people see your campaign
And lots more!
With that said, let’s now go over the steps for creating a countdown timer in WordPress
Steps for Creating a Countdown Timer in WordPress
Step 1: Sign up for an Account With Adoric
Your first port of call is signing up for an account with Adoric. Don’t worry, you can start for free and then upgrade your subscription as your business expands.
During the signing up process, see to it that you provide the correct URL of your website like so:
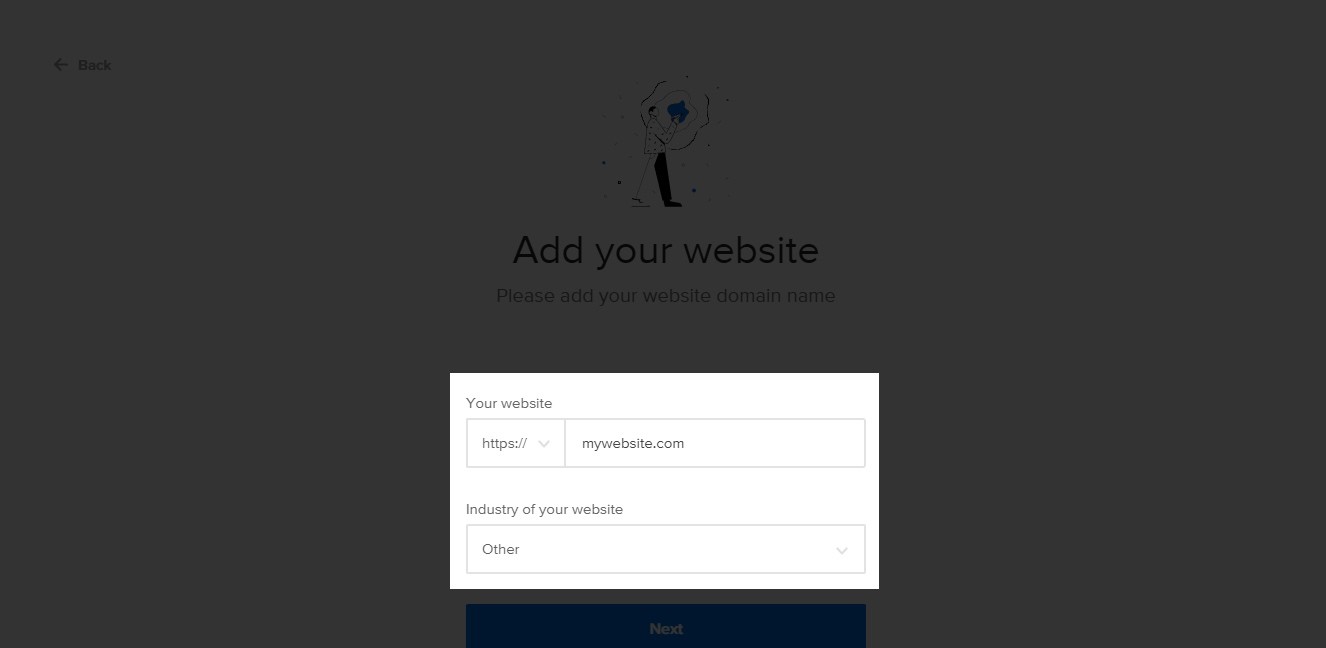
You can leave out the Industry of your website field as it is only optional.
Step 2: Install Adoric Plugin on Your WordPress Website
After signing up for an account, you will see a page with an installation link on it. Click the Install now link as shown below:
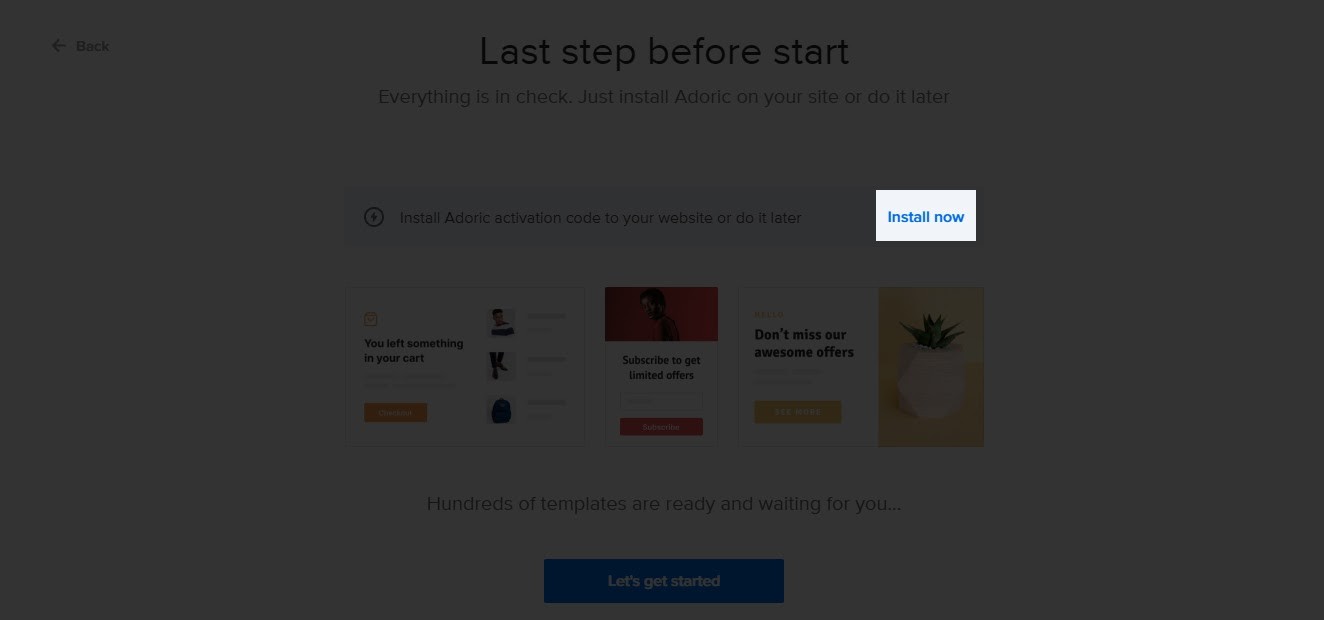
As soon as you do, you will be redirected to the plugin download page.
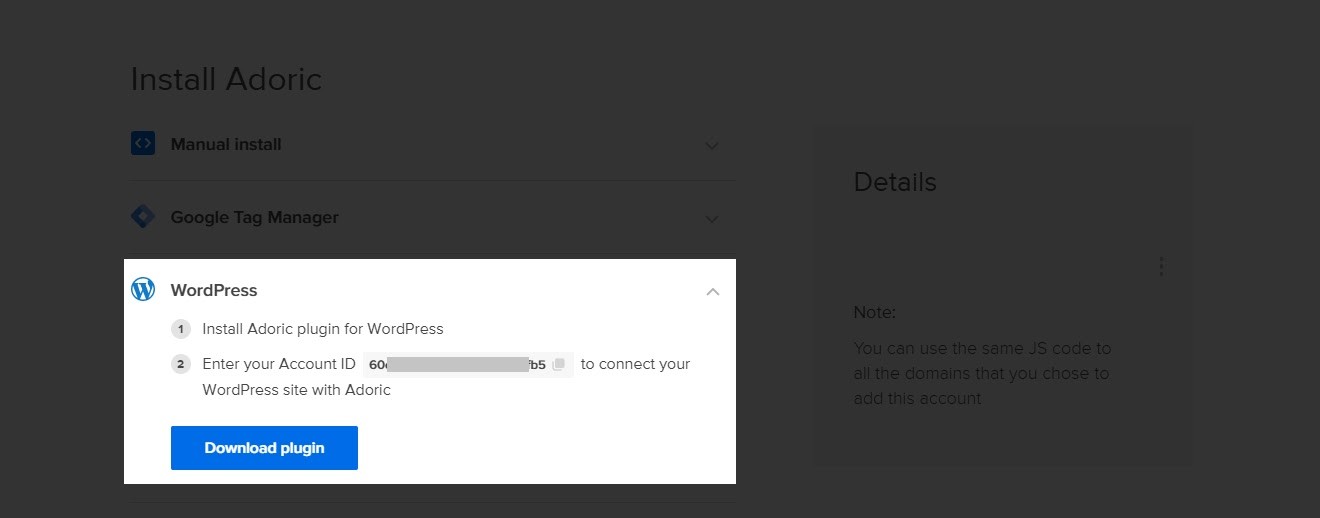
Before proceeding to download the plugin, take note of your Account ID. Possibly copy it to somewhere safe.
Once you are done, hit the Download plugin button.
After downloading the plugin, upload, install and activate it on your website just you would with every other WordPress plugin.
With the plugin now installed and activated on your website, the next step is to link it to your account so as to enjoy it fully.
To do that, from your WordPress dashboard simply navigate to Adoric >> Dashboard.
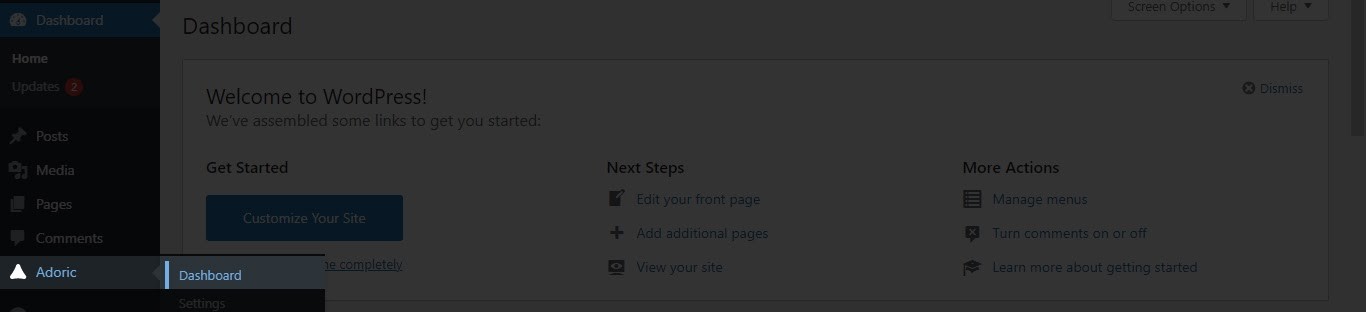
On the dashboard page, you will see an input field asking for your account ID. Enter the account ID you had earlier copied and then hit the Connect Adoric button.

And like that, you are good to go.
Step 3: Create a Popup
With installation and setup out of the way, it’s about time you added a countdown timer to your website. To do that, once more navigate to Adoric >> Dashboard, and then click the Create popup button.
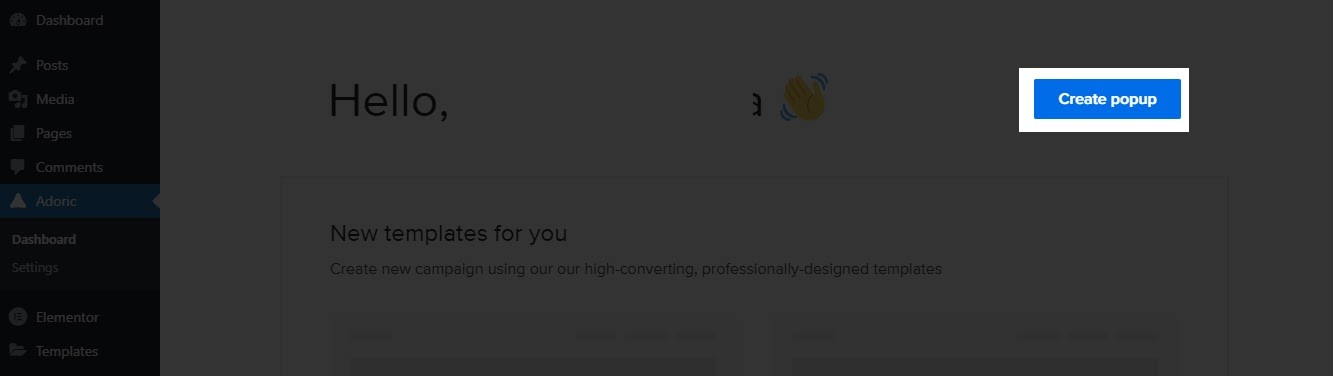
Upon click, you will be redirected back to the design editor page. This is where you will build out the countdown timer and add it to your website.
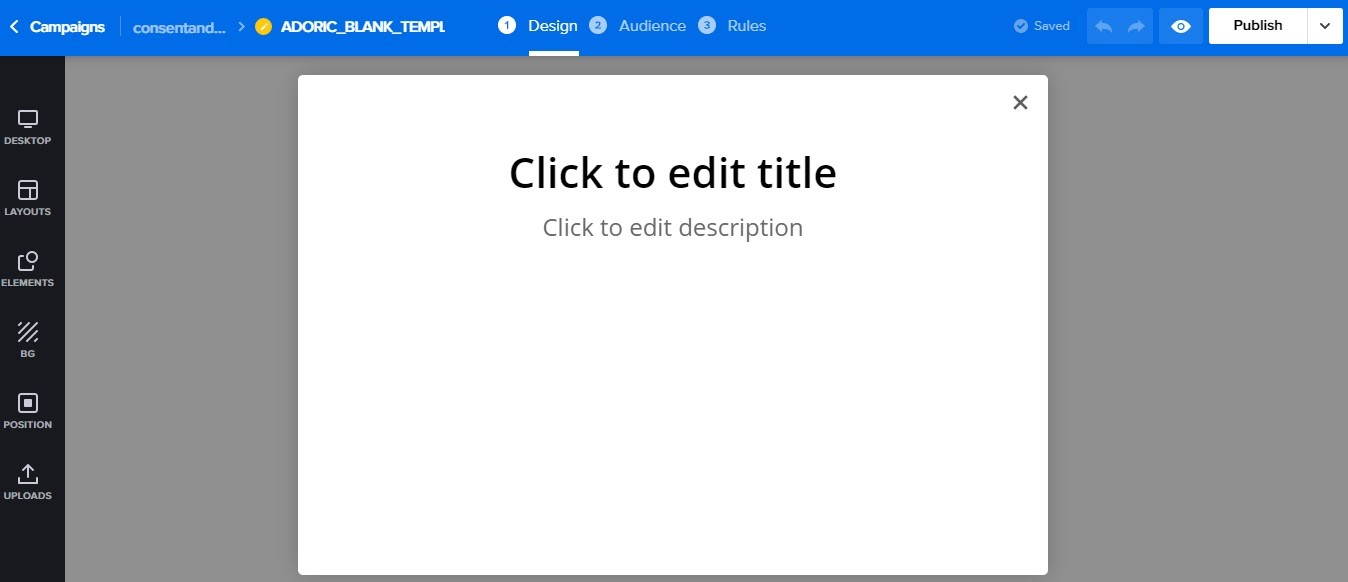
At this point, you have 3 embedding options for creating the countdown timer: popup, a slide-in, or a floating bar. You can even embed it directly to your page or post.
For this tutorial, we will be using the popup in the screenshot above – and we will be building from the ground up. But you don’t have to build from scratch; you can use any of our over 500 pre-made templates to save time.
Step 4: Add Content to the Popup
To start, first clean out the canvas by deleting the placeholder texts like so:
After that, click the Elements tab on the left-hand panel. Then click the Texts tab.
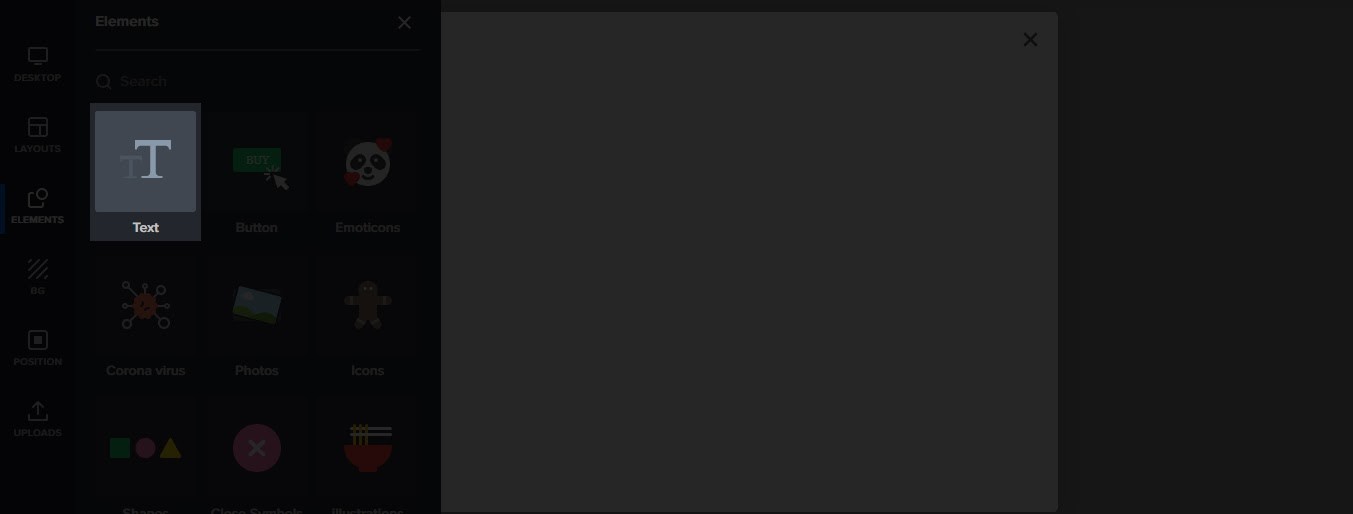
Then click on the Add heading link. If you want, select a font style that best matches your taste from the fonts palette. Or just use the default font style.
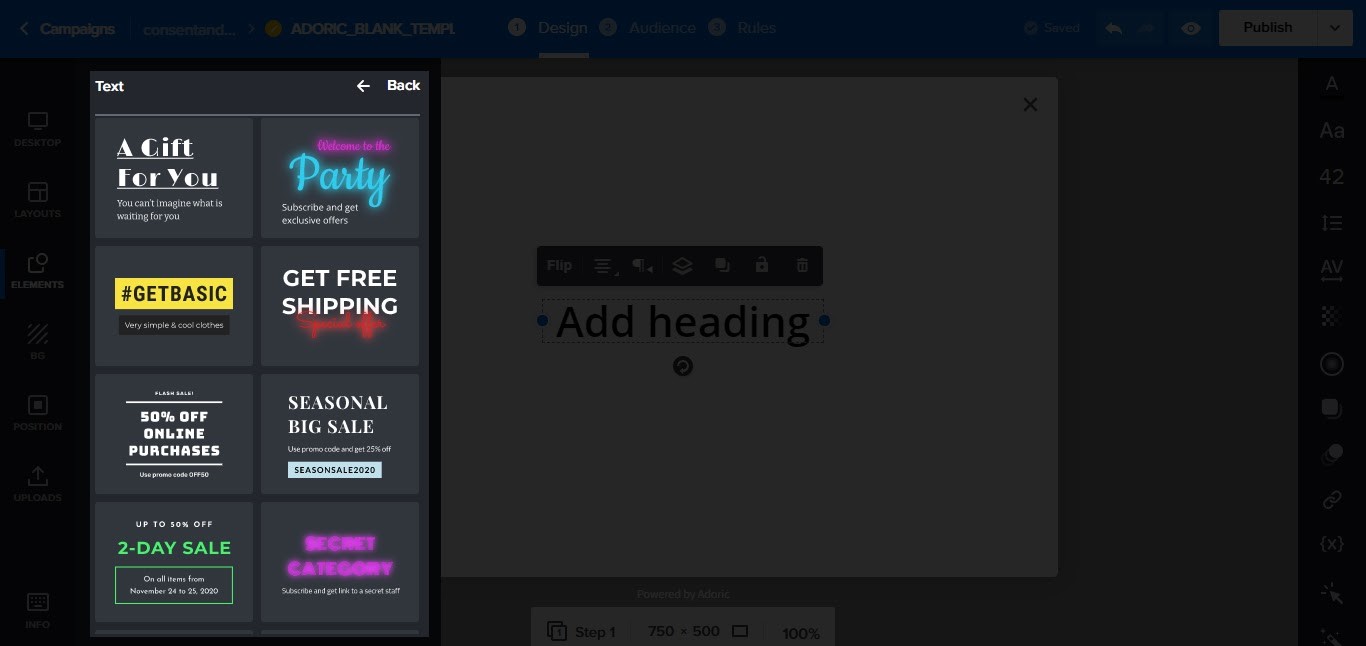
After that, click the text that was dropped on the canvas. Then edit it as you please. For this tutorial, this is the text we will be creating:
Sign up now to get 50% off
Of course, you can always use whatever text that you want. And you are also at liberty to style the text however you want.
After creating the text, click the Elements tab once again, and then select Form
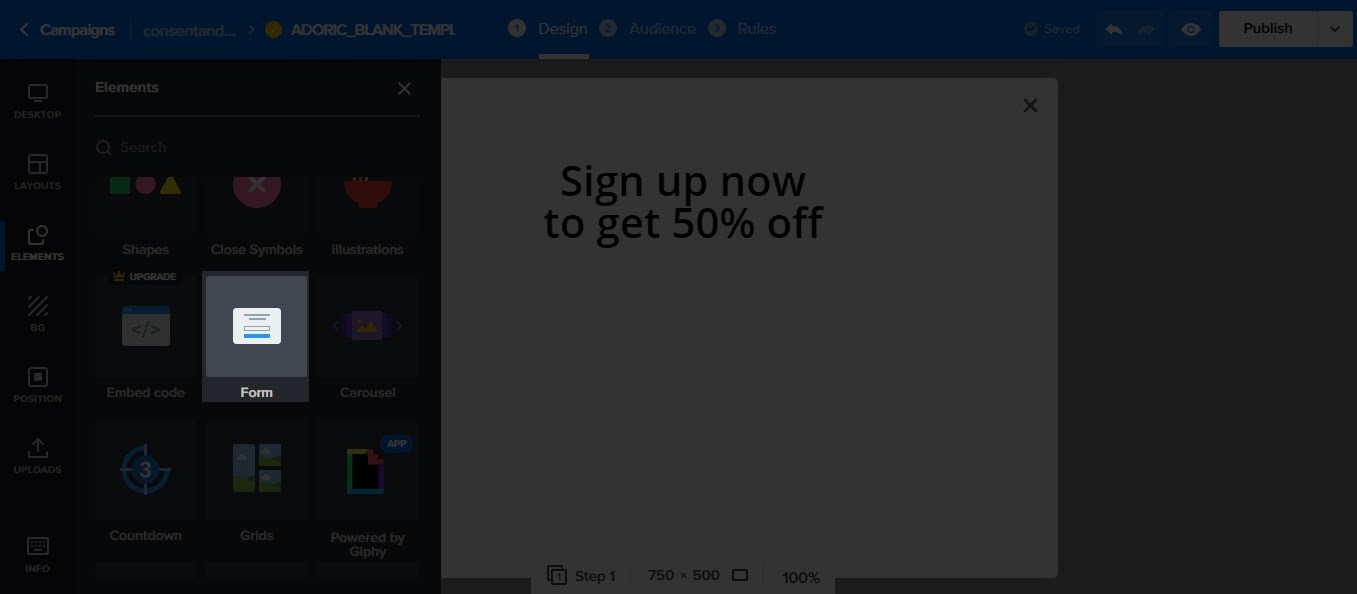
Once you do, a form will be dropped on your design canvas. Edit and tweak the form as you please by changing the button color, text, and positioning.
Step 5: Add a Countdown Timer to the Popup
When you are done with that, as you did previously for the form, add a Countdown timer to your canvas.
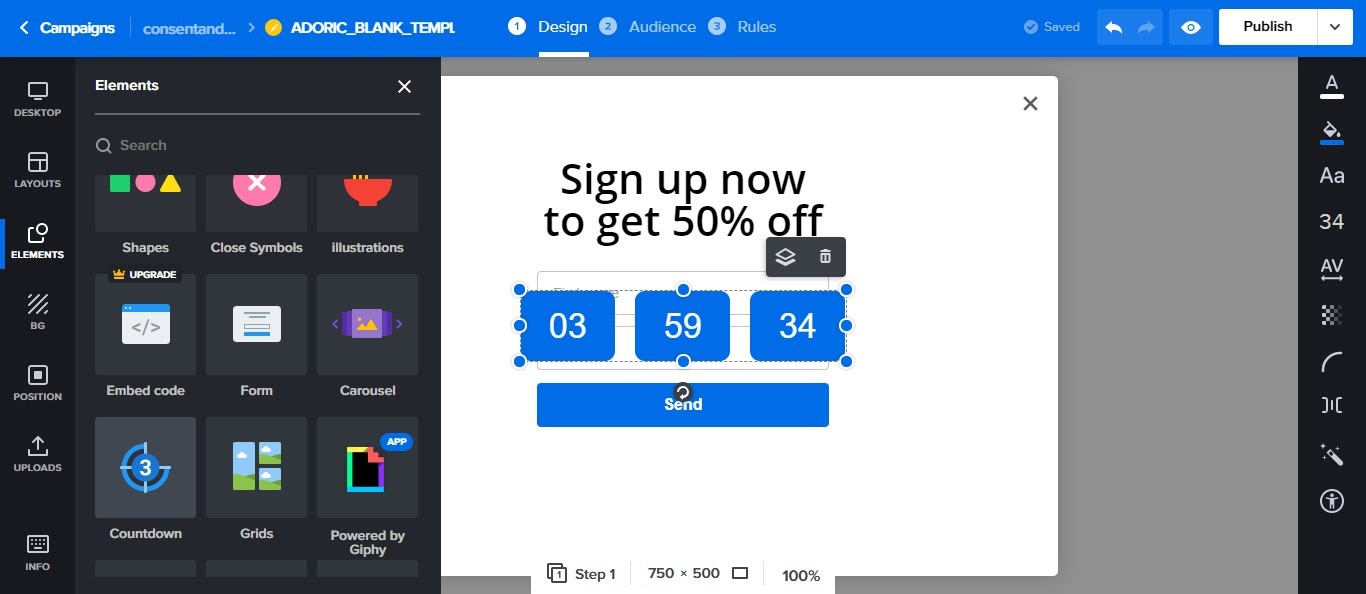
Then drag the countdown timer to wherever you want on the canvas like so:
The next thing you will want to do is to make adjustments to the countdown timer. To do that, click on it, and on the left panel set your parameters.
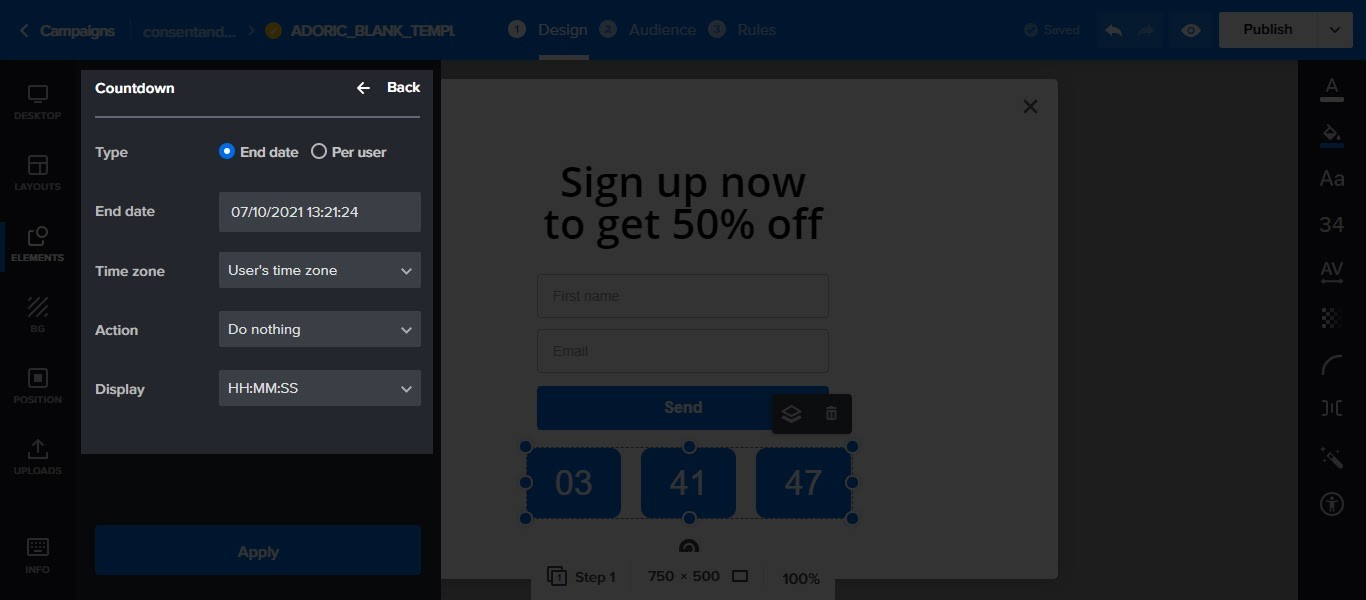
Hit the Apply button when you are done. At this point, you are ready to publish the popup with a countdown timer to your WordPress website.
But before that, you need to do some housekeeping. To begin with, you need to tell Adoric the page(s) on your website where you want the popup to appear.
Here’s how to go about that:
- Click the Rules tab at the top of the screen
- A page will open. Scroll down to the Placement section.
- Click Specific pages, and then the Add button.
- Type in the URL of the page you are looking to target. Click the toggle button and publish
You can also make adjustments to Frequency, Triggers, and Close options if you so wish. Click the publish button. Doing that will take you back to the design editor.
Now publish the popup by clicking the Publish button at the top right corner, and you have a countdown timer live on your website. And that’s it!
On a final note, you don’t have to build your campaign from scratch just like we did in this tutorial.
Thankfully, we have lots of popup templates with editable countdown timers embedded in them. Examples are this, that, and that one. You can start with any of them.
Wrapping it Up
In the example above, we added a countdown timer to a popup. However, you don’t have to limit your option to popups alone. You can as well add them to a slide-in, floating bar, or even add it directly to your page/post as an inline countdown timer.