Are you looking to place your campaigns where they will get the most attention, but without ruining your visitors’ experience?
That’s not a problem.
Adoric’s on-screen positioning feature puts you in control of your campaigns’ placement.
This means it’s entirely up to you to decide where your popup, slide-in, or sticky bar will show on your visitors’ screen.
Do you want them to show at the left bottom corner of your page like so:
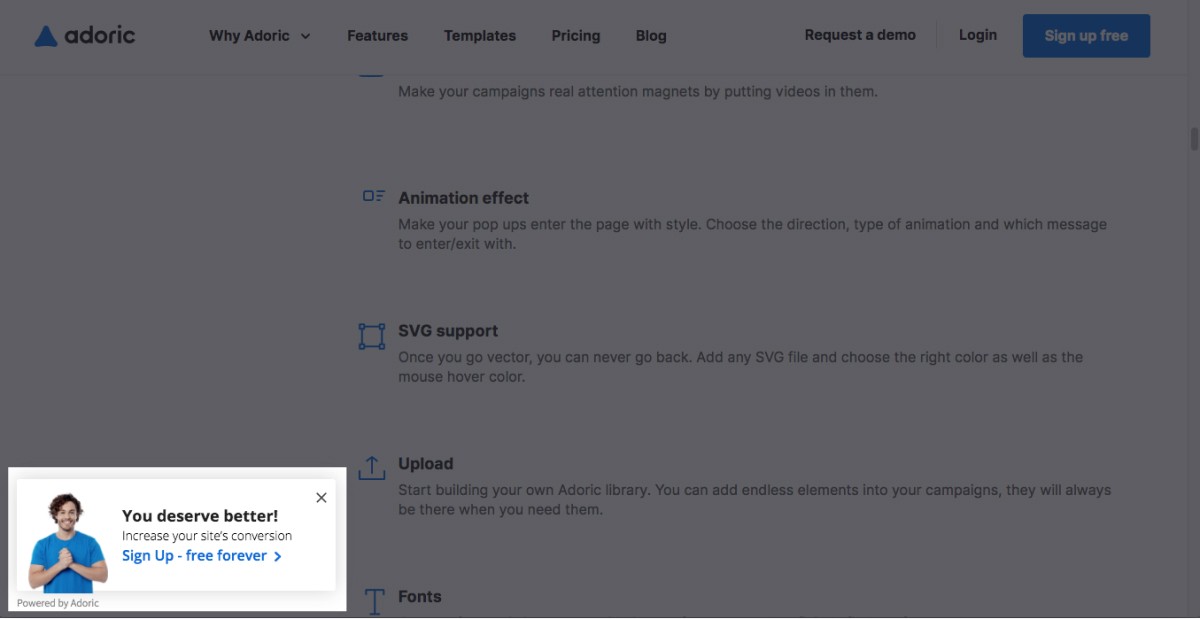
No worries!
Or, preferably, you want your campaigns to display at the bottom left corner? That’s not an issue.
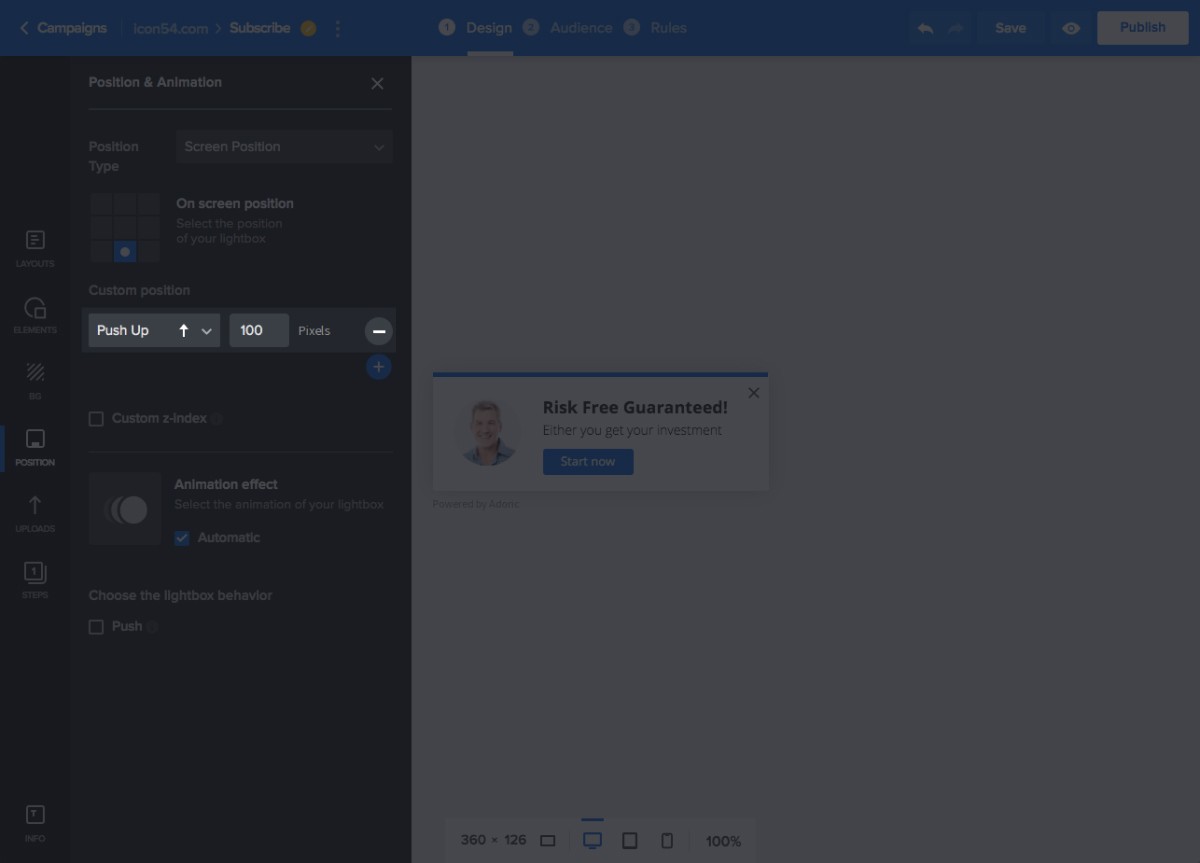
In addition to placing campaigns precisely where you want, you can as well add offset distances to them.
For example, let’s say that after positioning your popup at the top right corner of the screen, and you want to push it down by 100px. You can do that right from our design editor.
Positioning Options
What if you wanted to position a campaign relatively to a web element, and not the browser window? For example, you want a popup to appear on top, beneath, or beside your contact form.
You can do so seamlessly with Adoric.
As a matter of fact, in addition to the default on-screen positioning option, Adoric has two more and they are:
- Position-to-element
- In-page
Position-to-element option, as earlier highlighted, allows you to place pop-ups, slide-ins, and sticky bars relatively to an element on your page.
For example, you can make your popup appear to the left, right, or at the bottom, top of, say, a sign-up button.
This makes it an excellent solution for creating tooltips.
Tooltips – in case you don’t know – are the small popup boxes that appear when you mouse over an element on a web page. They are often used to provide additional information about a subject.

How does position-to-element work?
Just select the reference element with our CSS selector and then set custom offset distances – and you are done.
In-page positioning, as you might have guessed, gives you the option of placing a campaign natively right within a page. This will make the campaign look as though it is part of the page, and not an external element.
No coding is required – just tell Adoric where you want your campaign to be placed using the CSS selector, and the rest is taken care of.
Custom Z-index
Z-index is used in web development to place elements on top or beneath each other. Thankfully, you don’t have to be a developer to use Adoric’s custom z-index feature.
If a web element is hindering the visibility of your pop-up by appearing in front of it, with the custom z-index you can fix this problem. Simply give the campaign a higher z-index value and it will automatically jump to the front.
Triggers
In addition to placing your campaign where you want, wouldn’t you also want to make them appear exactly when you want? Definitely, you would.
Adoric’s trigger options allow you to set off your campaign when:
- A visitor starts to scroll down your web page
- Few seconds after a user lands on your site
- Just when they are about to leave your website (exit-intent)
What Next?
Have you created a free account with Adoric yet? If you haven’t, do so now to explore our full suite of features.
