

Are you looking for a way to easily turn visitors to your WordPress website into subscribers and potential customers? An inline opt-in form is one of the solutions that is best suited for the job.
In this post, you will learn how to create and add an inline form to your WordPress website without stress. And without knowing a thing about CSS, HTML or Javascript.
Buckle up!
What’s the Deal About Inline Opt-in Forms?
Inline opt-in forms, simply, are forms that you embed somewhere in the middle – or top/bottom in some instances – of a post or a page.
As such, visitors get to see them when they have scrolled down a certain distance.
They look something like this:

You know, it’s only engaged visitors that get to scroll down your web pages. Thus, the best way to convert them into subscribers is by planting an inline opt-in form along their path.
Reasons to Use an Inline Opt-in Form
Okay, maybe you aren’t really interested in capturing more subscribers, but rather getting as many people as possible to sign up for your webinar. Guess what? An inline form can also help in such a case.
What’s more, you can also use it: Here are some more reasons to use an inline opt-in form:
- For promoting a sales offer
- To entice visitors with coupons and discounts
- For prompting potential customers to book a demo
Adoric: The Best Inline Form Plugin for WordPress
Adoric makes creating and publishing an inline opt-in form to your WordPress website a breeze. This is because you don’t need to know a lick about coding to do that, thanks to Adoric’s intuitive drag-and-drop editor.
Even if your graphic design skills are rather poor, you can still knock out a well-designed opt-in form.
This is because we’ve got a huge library of pre-designed forms you can use and tweak to your liking, thus saving you the trouble of building a form from scratch. Each of these forms has been carefully designed to improve the UX of your website.
On top of that, Adoric has got a lot of powerful features you can exploit in making your inline opt-in forms really effective and convert better. They include:
- A/B testing to let you create high-performing forms
- Accurate audience targeting that ensures only the right people see your form
- Accessibility settings to make your campaigns accessible to physically challenged users
And if you feel an inline form isn’t what you need for your campaign, you can try out our popups, slide-in forms, and floating bars.
They work like a charm. We’ve got one for every type of campaign you want to promote: summer sales, spring sales, back-to-school promos, Cyber Monday deals, to name but a few.
Alright, let’s get straight down to business.
How to Create an Inline Form in WordPress With Adoric, Easily
Here are the steps to creating and publishing an inline form to your WordPress website without breaking a sweat.
Step 1: Sign up for an Account
First things first: sign up for an account with Adoric. The good thing about it is that you can start for free, especially if you are looking to test the waters.
During the signup process, you will be asked to provide the URL to your website. Do that, and ensure that there are no errors in the URL you typed in.
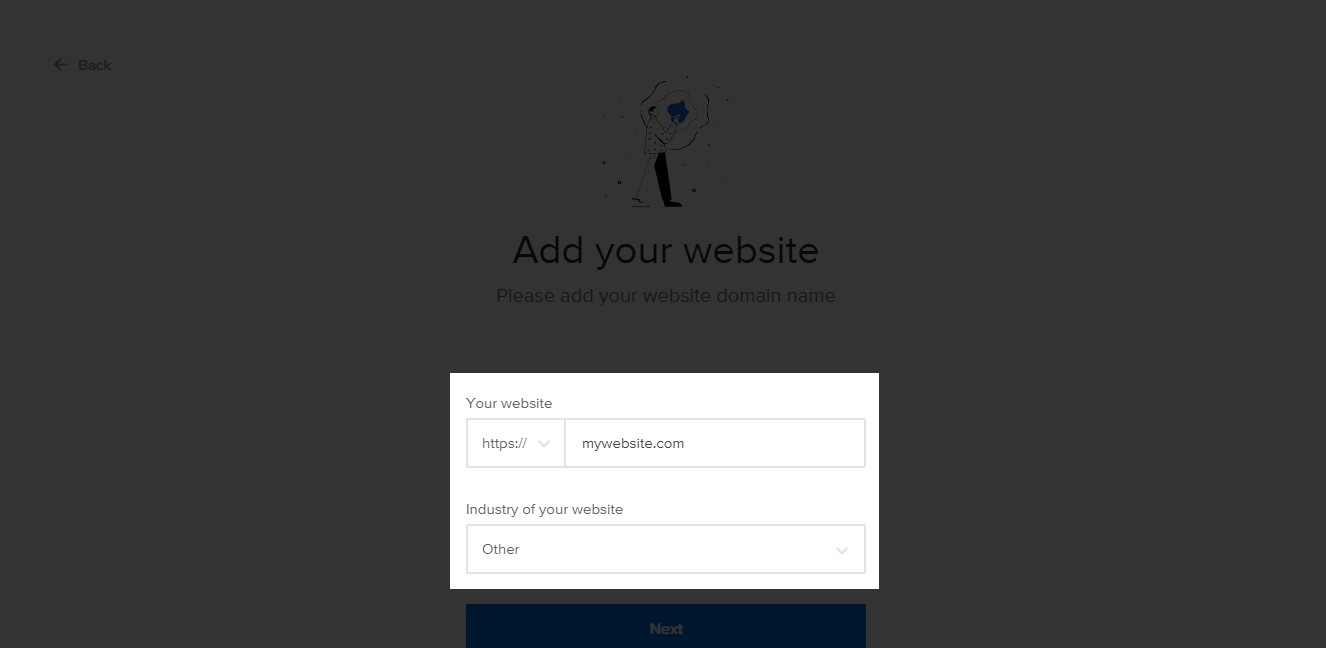
On the next page, you will be asked to install Adoric on your WordPress. This will take us to step 2.
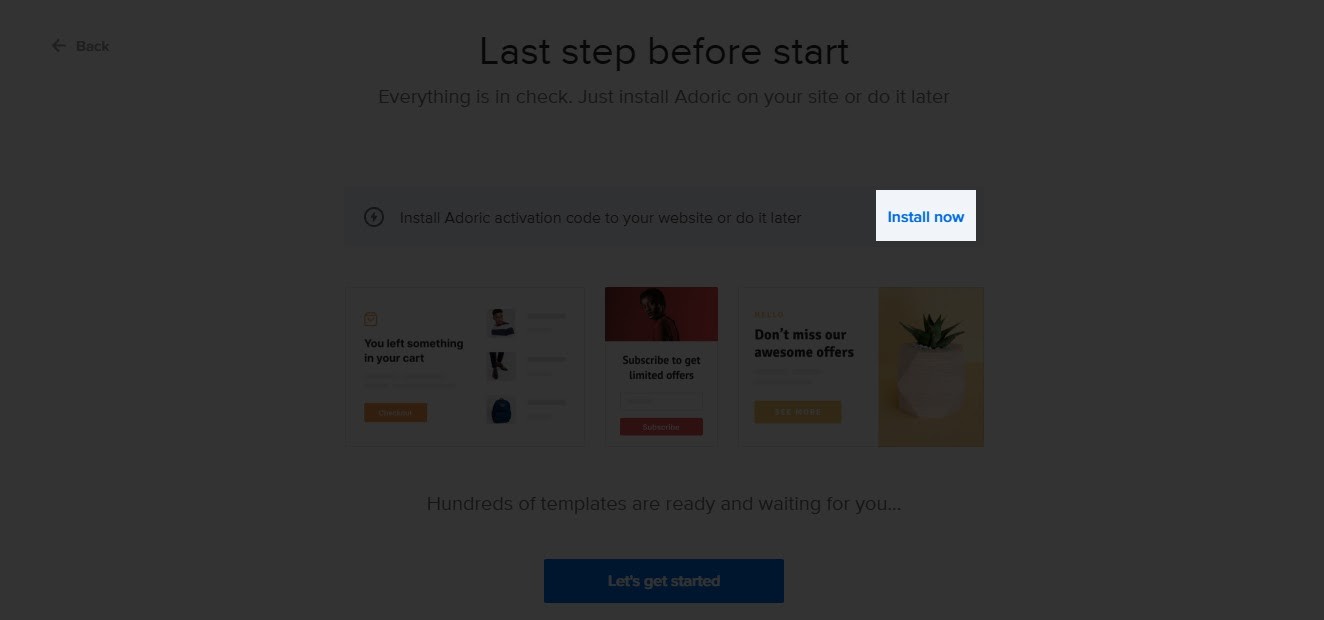
Step 2: Install Adoric on Your Website
Click the Install now link as shown below
Upon click, you will be directed to the plugin installation page. Before clicking the Download plugin button, take note of your Account ID. If possible, copy it to somewhere safe.
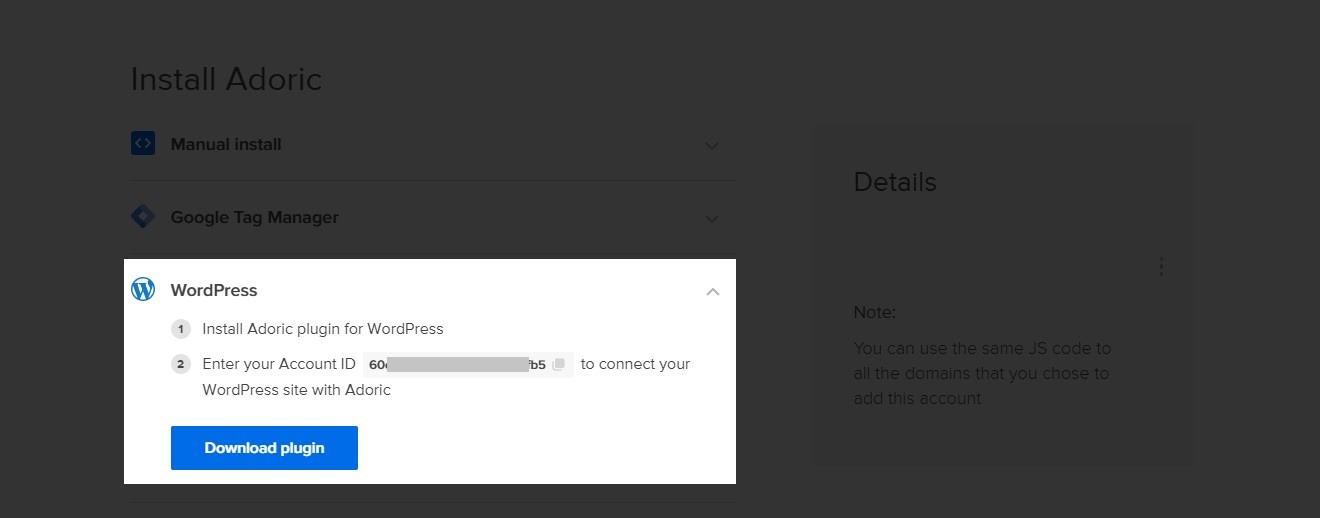
Then download, install and activate the plugin on your website. After that, the next step now is to connect the plugin to your account.
To do that, from your WordPress dashboard, navigate to Adoric >> Dashboard
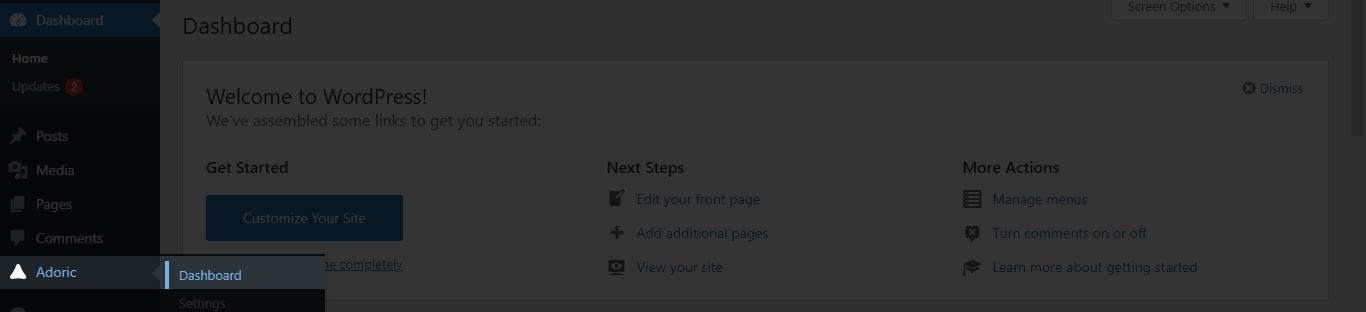
Upon click, you will be asked to enter your Account ID. Do so and click the Connect Adoric button.

And you are done! You’re now ready to add an inline opt-in form to your website.
Step 3: Create Your Inline Form
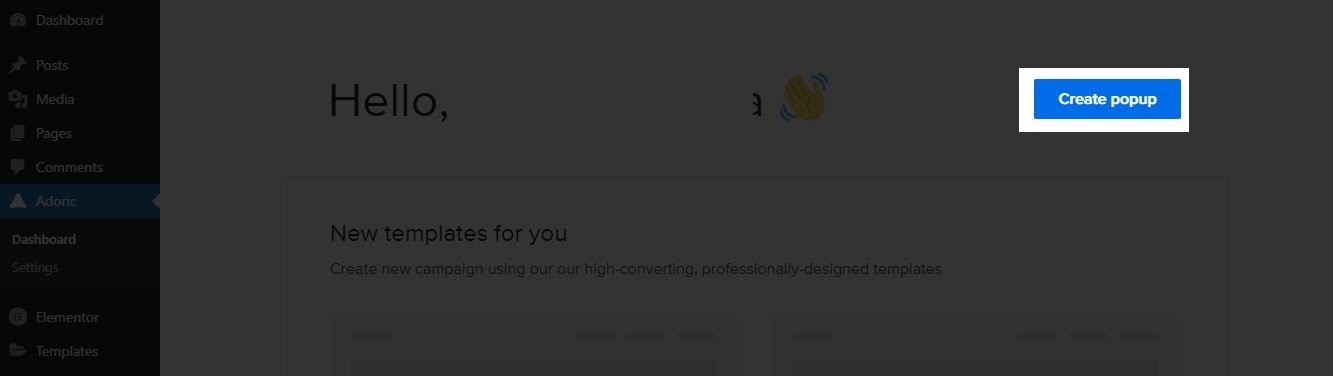
To start the process of creating an inline opt-in form, click the Create popup button from your WordPress Adoric dashboard.
Clicking that button will take you to the design editor page. This is where you will be building the form.
To speed things up a little, we will be using a template and editing it. Of course, you can always build from scratch if you so desire.
While still on the design editor page, click the Layouts tab.
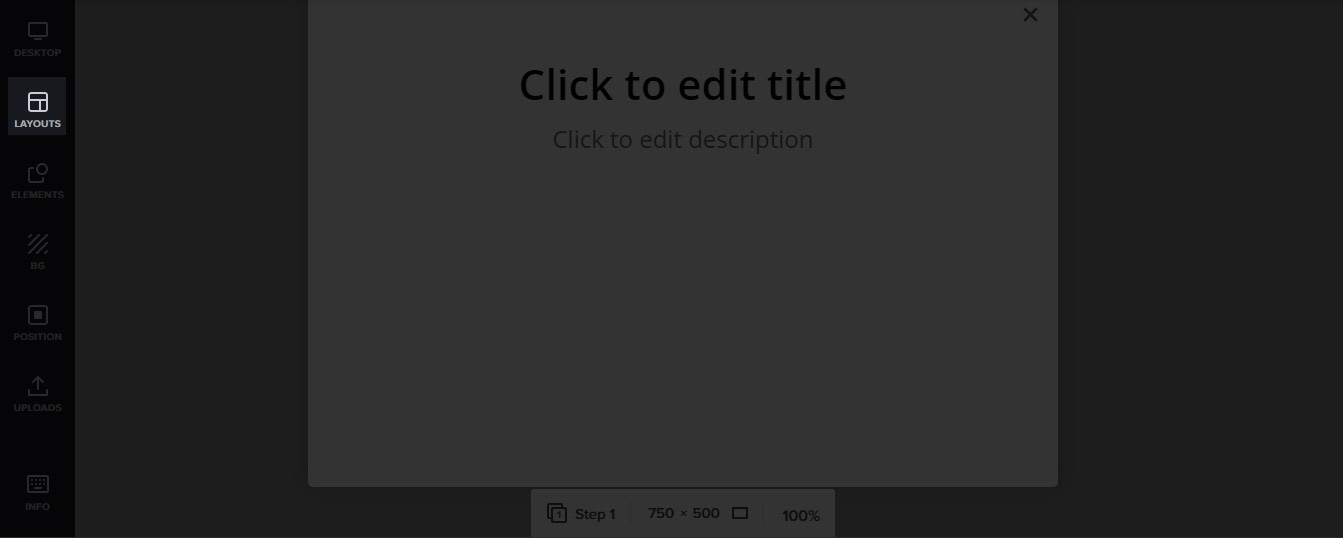
Upon click, you will see a plethora of pre-made templates you can use. Find the one that fits your design taste the most and select it.
Let’s use this nice back-to-school opt-in form.

You can always change the text, color, font style, image, etc of the form however you want right in the design editor.
With your design all ready, it’s about time you added it to your post/page on your WordPress website.
Step 4: Add the Form to Your Page/Post and Publish
After all the hard work of designing your form, it’s now time to embed it in your page or post. To do that, from the design editor page, click the Position tab on the left panel.

Next, select In page from the Position Type selection box.
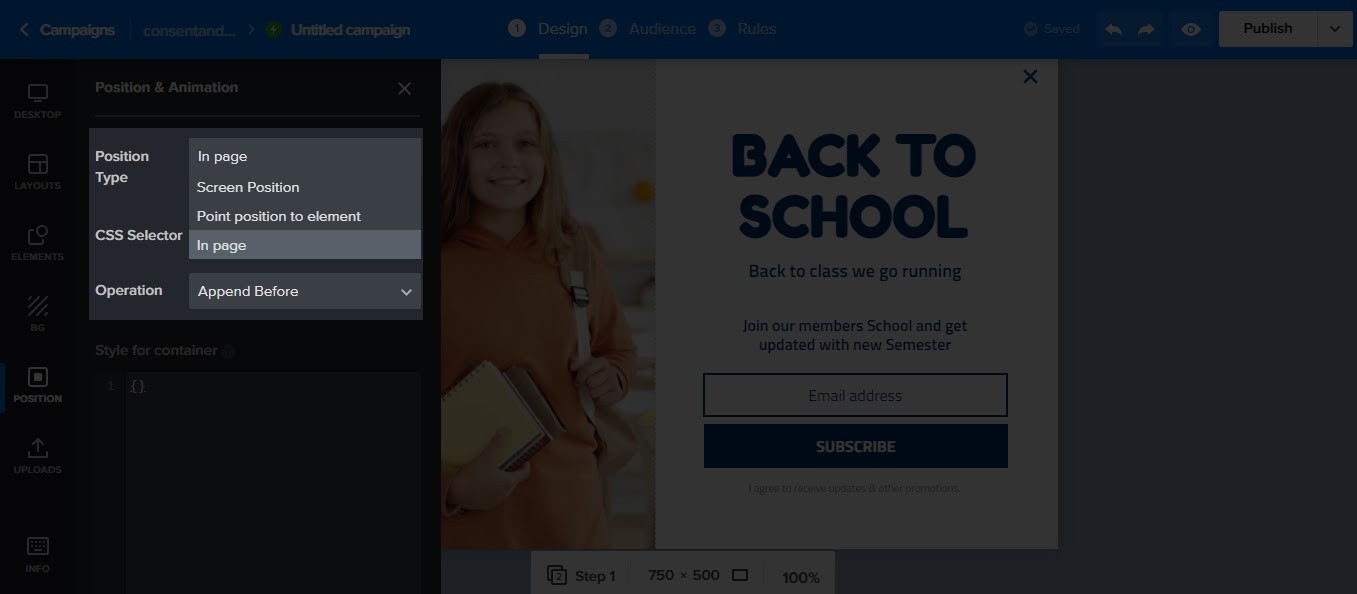
After that, click the blue Select button that is adjacent to CSS Selector. Once you do, a preview page will open. By default, it is your website’s homepage that you will see.
But, what if you want the opt-in form to show somewhere else and not your homepage? That’s not an issue with Adoric.
Just type in the URL of the page or post that you want the form to be embedded in. For example, I want this form to appear on the blog page of my website. So, what I will do is to type in the sub-URL like so:
index.php/blog
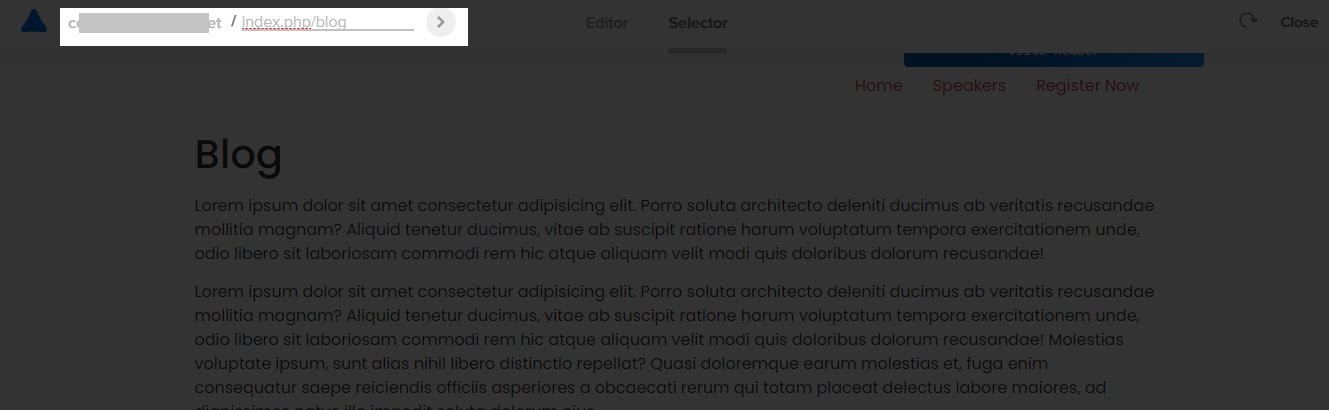
Then hit the next arrow button that you see in the image above. It will take you to the page you are looking to target.
Once on the page, select the element you want the form to appear beneath. For example, I want the form to show beneath the second paragraph of my blog page. Here’s I went about the selection:
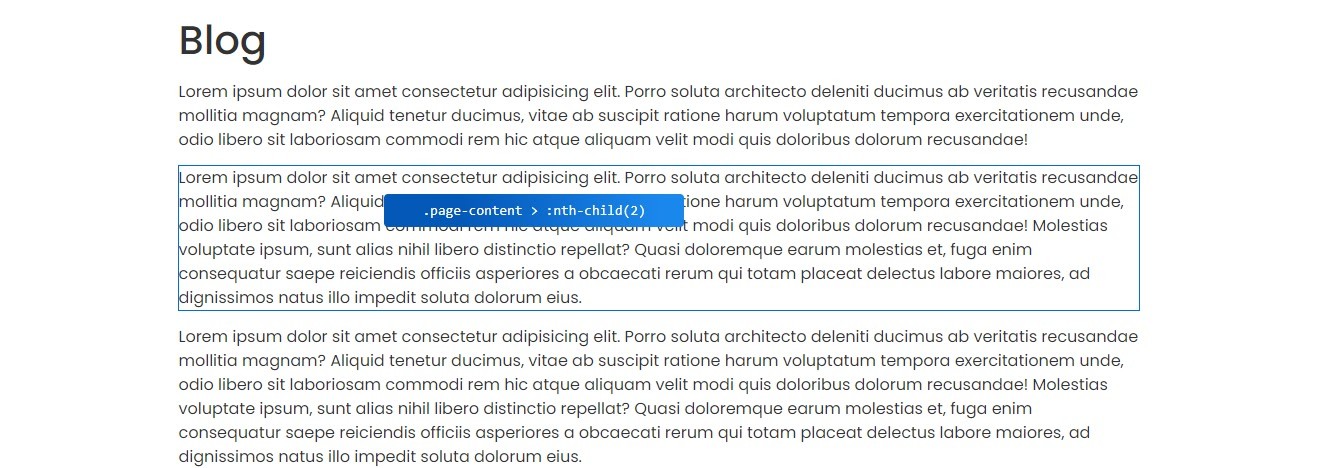
Immediately you select the reference element, you will be automatically redirected back to the design editor. This is where you get to publish the form.
But before publishing, there are a few housekeepings to do. One is deleting the close button on the form like so:
The second is setting the time delay for page load to zero. That is, the time it will take the form to appear after the page loads. By default, it is set as 5 seconds.

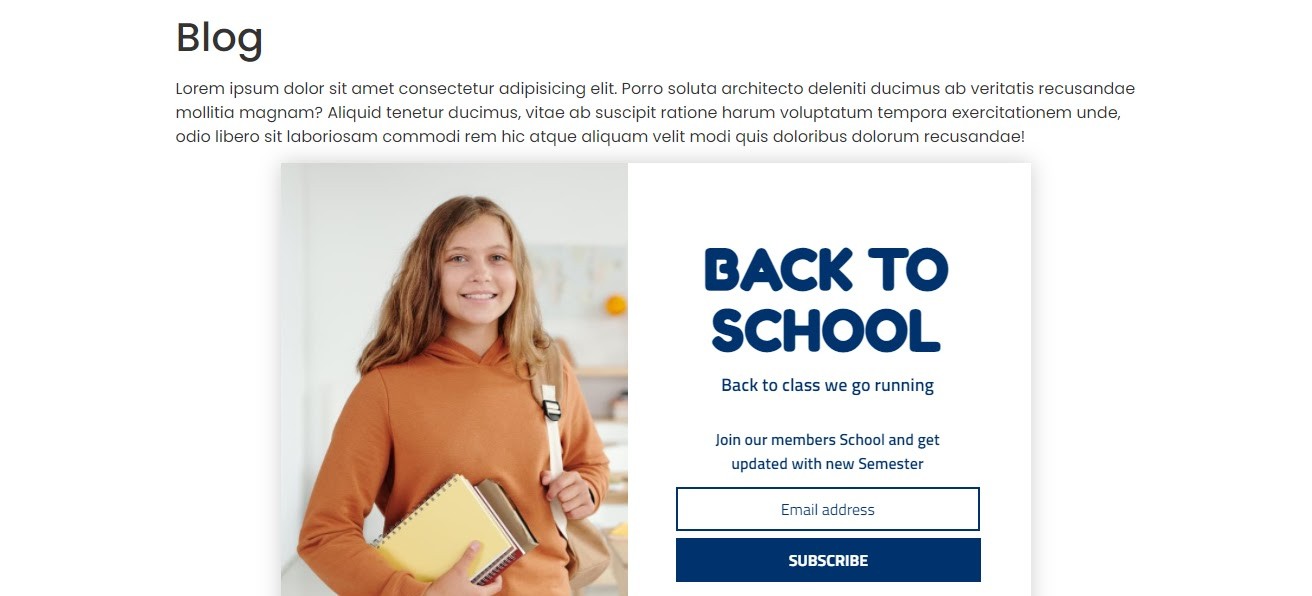
Finally, hit the Publish button at the top right corner of the design editor. And just like that, the form will appear exactly where you wanted it.
Step 5: Integrate Your CRM
By default, all the leads captured by your form will be saved in your Adoric account. However, if you prefer to use a CRM like Mailchimp or Hubspot, you can integrate it into your account.
To do that, click on the email opt-in form, followed by Integrations, select your preferred CRM, and then click Restart.
If you are using Mailchimp, for example, proceed to linking to your account by adding your API keys and then following the subsequent steps.
If that is too much work, click the Add Mailchimp account button. A new browser window would open. Then log in to your Mailchimp account to link Adoric to it.
Wrapping it Up
So there you have it: 5 easy steps for creating an inline – or in-page, if you prefer to call it – opt-in form to your WordPress website.