
Are you looking for the best email opt-in popup plugin to grow your WordPress blog mailing list, and expand your subscriber base?
Try Adoric!
Adoric is a powerful, pocket-friendly marketing software that allows you to convert your website visitors into subscribers and paying customers.
It comes loaded with solutions and features specially designed to help you get more people to sign up for your newsletter using a popup, slide-in, or a floating bar.
In today’s post, I will be showing you how to add an email opt-in popup to your WordPress blog easily by using Adoric.
Buckle up!
How to Add an Email Opt-in Popup to Your WordPress Blog with Adoric
To add an email opt-in popup to your WordPress blog, follow these steps:
Step 1: Sign Up for an Account
To get things started, first sign up for an account with Adoric. It’s entirely free.
While at it, you will be asked to provide the URL of your blog website where the popup will live.
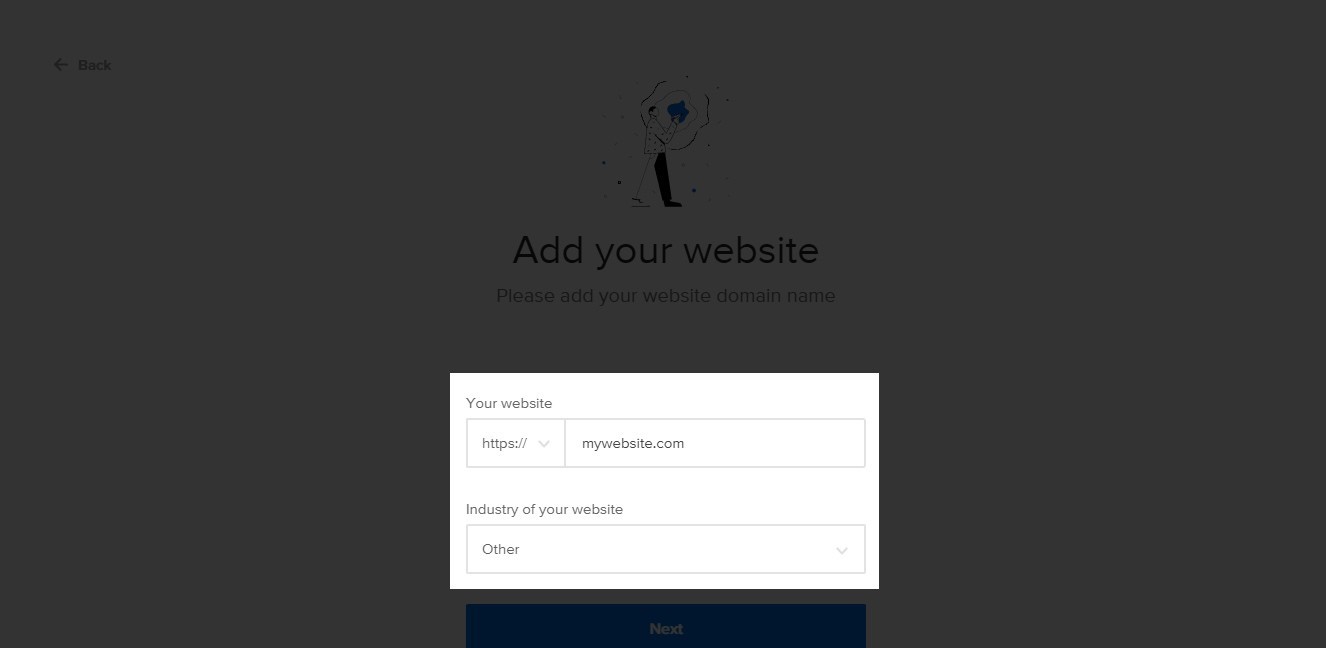
See to it that the URL you provide is properly typed with no errors. When you are done, proceed to the next step.
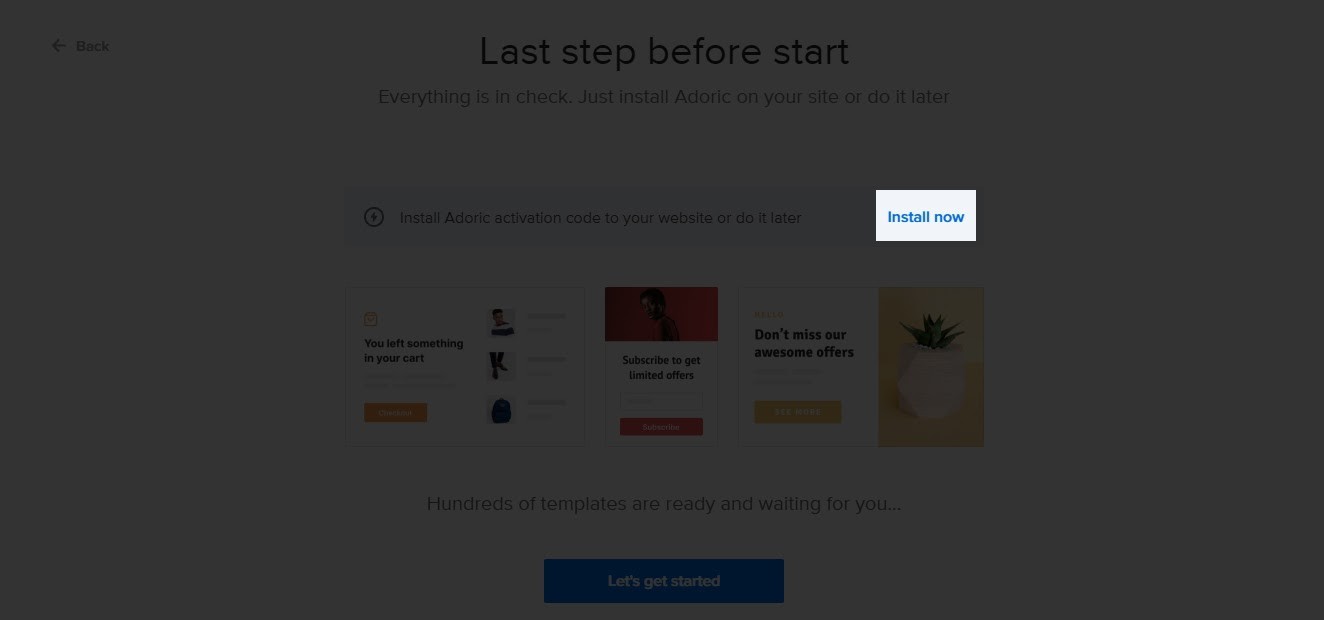
Step 2: Install Adoric on Your WordPress Blog
After providing your website’s details, the next step is to install Adoric on your blog. To do that, click the Install now link like so:
Once you click that link, the plugin download page will appear. When it does, copy out your Account ID and paste it somewhere safe. Then click the Download plugin button.
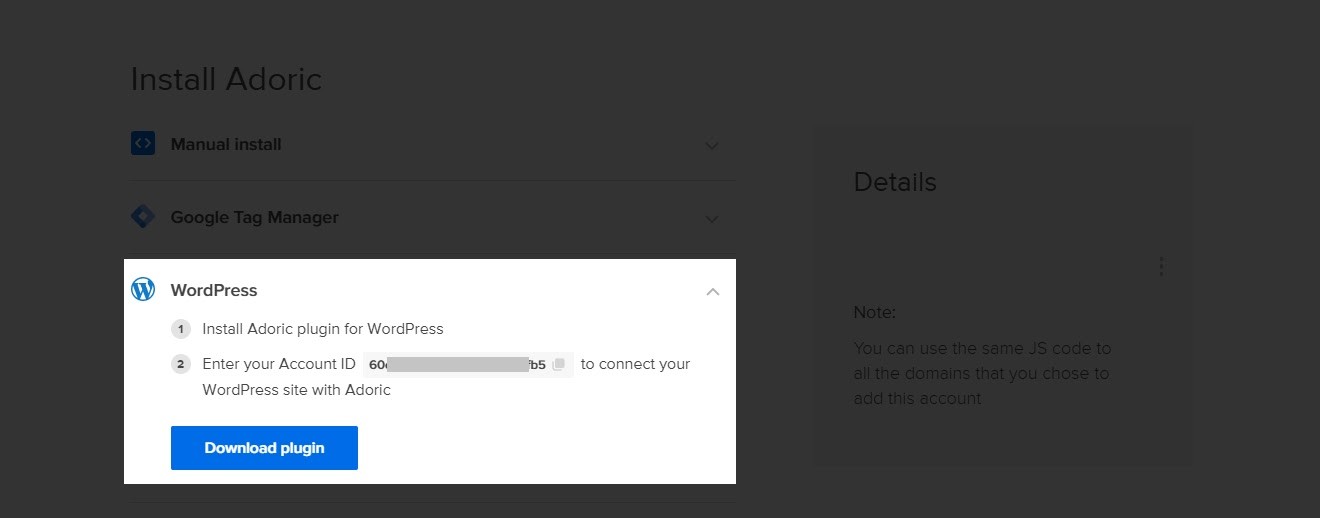
After downloading the plugin, upload, install and activate it just like you would with every other WordPress plugin.
Step 3: Connect the Plugin to Your Adoric Account
For the activated plugin to work, you need to connect it to your Adoric account.
This is where the account ID you copied out earlier will come into play.
From your WordPress dashboard, navigate to Adoric >> Dashboard.
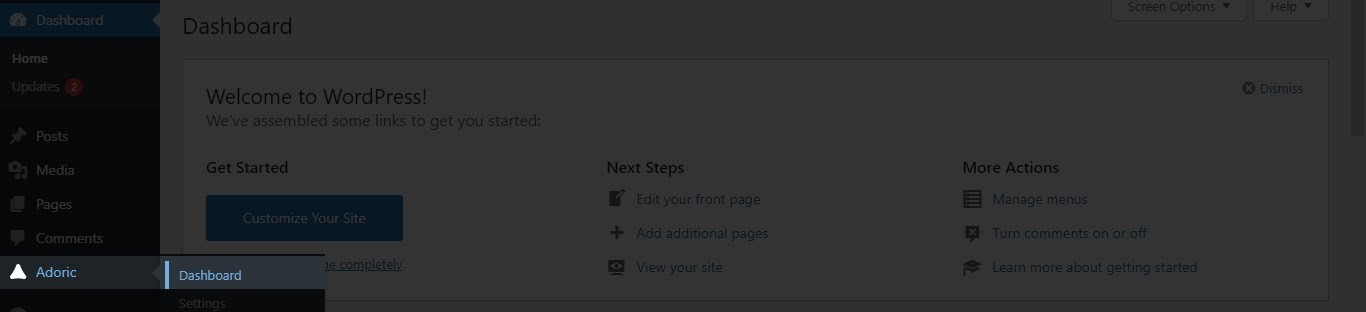
Then enter your Account ID in the box as shown below:
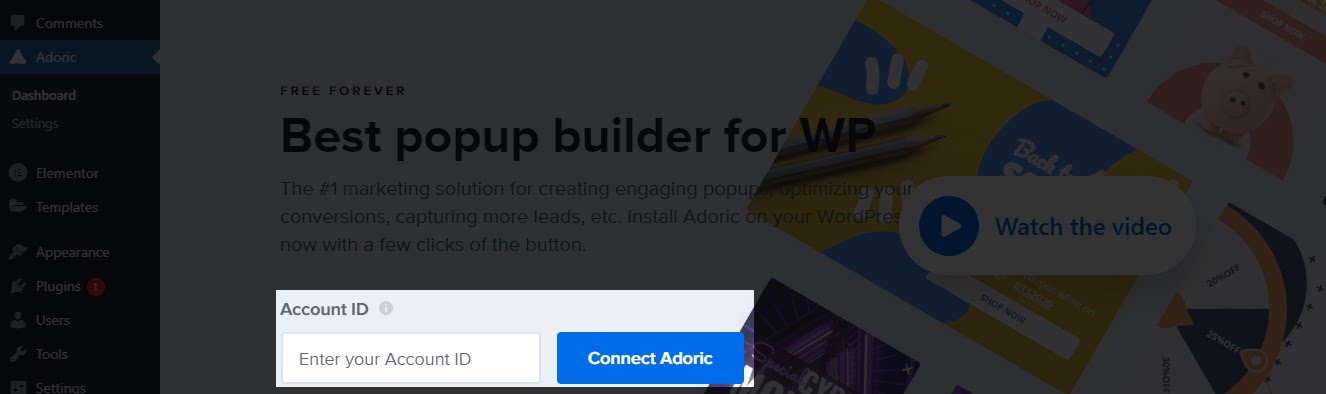
Finally, click the Connect Adoric button. And that’s it! Adoric is now live on your WordPress blog. The next step now is to create your email opt-in popup.
Step 4: Create an Email Opt-in Popup
There are two ways to go about this: build a popup from scratch using Adoric’s design editor. But that will take you quite some time and a little bit of learning.
The second method is to bootstrap the popup creation process by picking a template and editing it as you wish. That’s the method that we will be using here.
To begin, click the Create popup button from your Adoric WordPress dashboard.
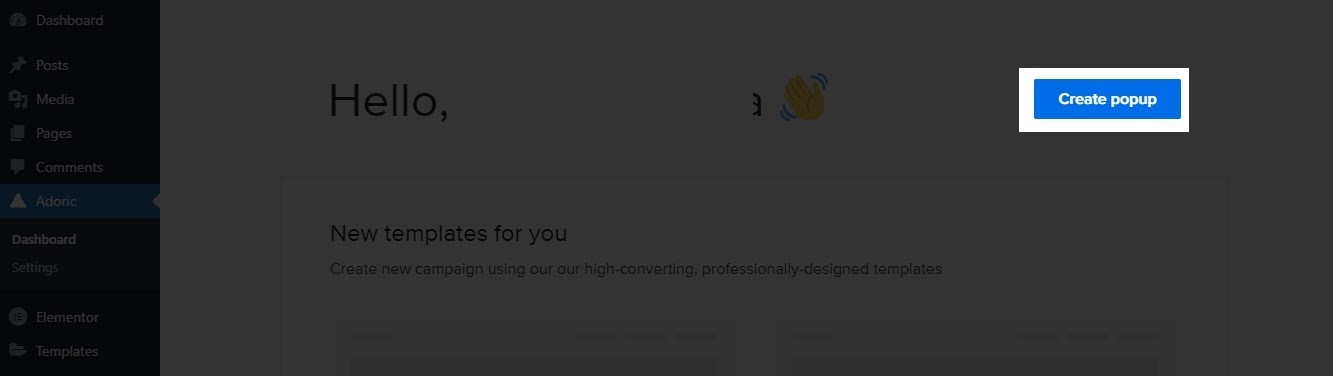
Upon click, you will be redirected to the design editor page. This is where you will get to pick the template you want to use.
To do that, click the Layout tab on the left pane.
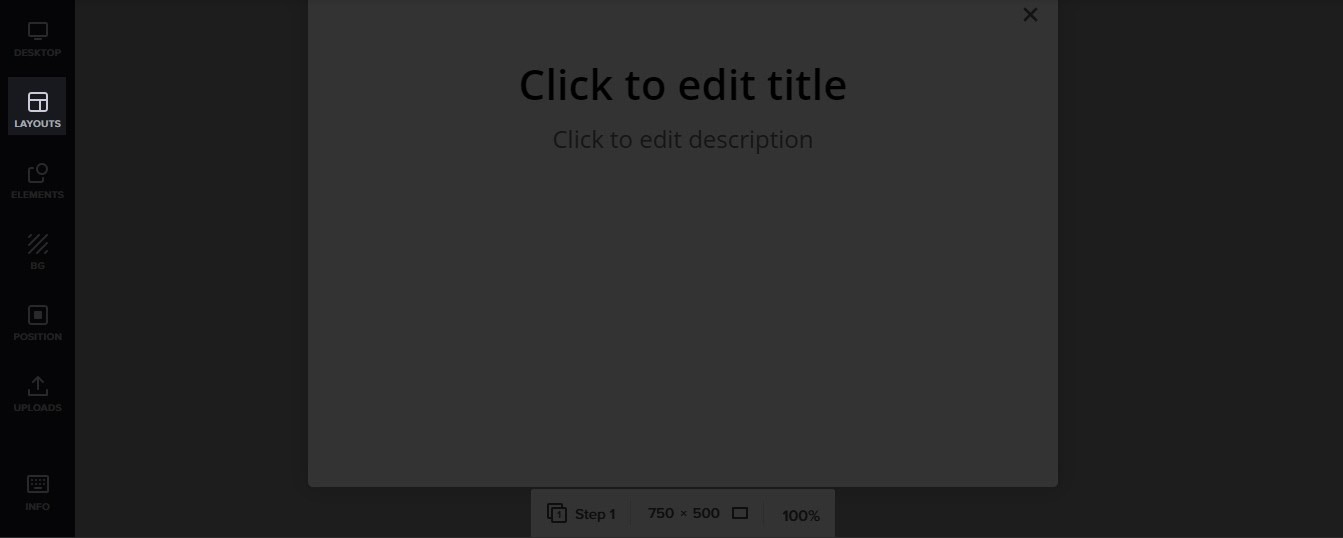
When you’ve done that, you will see lots of templates when you scroll down. Find the one you like, click it, and it will automatically drop on the Canvas.
Here’s the one I will be using for this illustration.
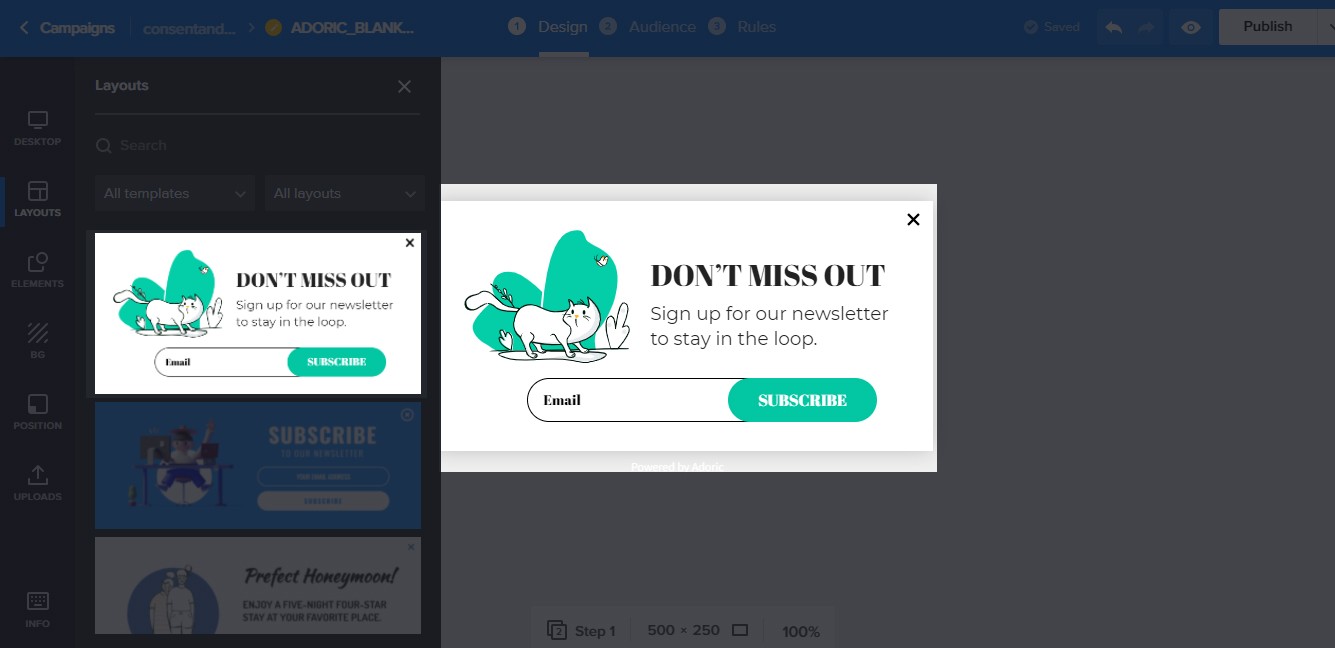
At this point, you can now start editing and tweaking the template just the way you want.
To do that, click on whatever element you wish to tweak and make your desired changes.
For example, if you wanted to adjust the header text, here’s how you would go about it:
When you are done tweaking and adjusting, proceed to the next step.
Step 5: Connect to Your Email Service Provider
Where would you like emails captured via your email popup to be stored? By default, they are stored in Adoric’s database, and you can access them right from your account.
However, if you use an Email Service Provider like MailChimp, you can link it to your Adoric account. When you do, your captured leads will be saved there.
To connect your ESP, click the opt-in form. When you do, a left pane would appear. There, click Integrations. Then select your preferred ESP – in this case, MailChimp.
The integration process is quite easy
Check out this guide to know how to go about it.
Step 6: Publish Your Popup
After creating your popup and integrating with an email provider, what’s left now is to publish it by hitting the Publish button at the top right corner.
Now, by default, the published email opt-in popup will appear on every page and post on your blog website. Which is something you might not like.
To specify a particular page where the popup would appear, click the Rules tab on top. Then scroll down a little to Placement.
There, select Specific pages, then followed by the Add button.
Then type in the URL of the page where you want the popup to appear. Toggle the switch button, and you are done!
To return back to the editor, click the Design tab.
Additional Settings
Okay, your popup is live now and showing on the page where you want it to. What next?
Well, there are a couple of things you can do to make your popup more effective and get you more subscribers.
One of them is showing it to visitors just when the time is right using Adoric’s trigger options, including exit-intent.
Another creative thing you could do is to add a countdown timer to your popup. That will make your visitors act speedily without having to dilly-dally.
Ready to take Adoric for a spin?
3 Things to Do After Publishing an Email Opt-in Popup to Your Blog
The whole goal of adding an email opt-in form to your WordPress blog is to win more subscribers, right? Of course.
However, for that to happen, you need to do these three things. And you ought to be intentional about them.
#1. Attract Traffic to Your Blog
So, first things first: attract traffic to your blog. After all, without traffic, there can’t be subscribers.
Now, there are 1001 ways to go about that. But, here are the 3 that I found work the most.
✅Hunt for quality backlinks like your life depends on it
You want your blog to be highly visible on Google – and other search engines – don’t you? Well, you need to take backlinking very seriously.
By the way, backlinks are links from other websites that point to yours.
What to do?
Sign up for an account with HARO (Help a Reporter Out) and start hunting for backlinks with it.

✅Publish content around targeted keywords, regularly
Publishing content is the whole essence of blogging, isn’t it? Then by all means keep at it.
Only be intentional about it by creating and publishing content around keywords you want to rank for on Google.
It works!
✅Promote your published post using Facebook and Google ads
You will want to get as many eyeballs as possible to your blog posts after publishing them.
What to do?
Promote them using Facebook and Google ads.
Will it cost money? Yes
Will traffic drop once your ad runs out? Definitely!
But here’s the good part: when you promote your posts via ads, they will naturally get clicks and impressions. This will in turn help them rank on Google, even when your ad has stopped.
That’s a win-win for you.
#2 Create Enticing Lead Magnets
Simply asking your visitors to give you their emails won’t cut it. You need to give them a valid reason to.
This is where a lead magnet comes into play.
A lead magnet, as the name suggests, is whatever you use to entice potential subscribers to drop their emails.
This could be a free eBook, cheat sheet, freebie, video tutorial, etc.
Just allow your imagination to run wild.
Need some help and inspiration for creating an effective lead magnet?
#3 Use Exit Popups
Are visitors abandoning your website almost as soon as they arrive? Use an Exit-intent popup to capture them back – at least some of them.
This type of popup show just when a web user motions to leave a website. Thus, it allows you to re-engage a visitor attempting to leave your website.
Thankfully, Adoric makes creating an exit-intent popup in WordPress easy.
How to create an exit-intent popup in WordPress
Conclusion
Ready to start creating attention-grabbing, high-converting email opt-in popups for your WordPress blog?
Sign up for a free account right away